

We all know what you’re really here for. For more than 15 years now, Ancients have been part of the ranged meta for many players who wish to participate in PvP in the Wilderness and other locations. These powerful spells are among the best long-range attacks you will ever find in Old School RuneScape. I’ve used them for a long time myself, and the way that you go about unlocking them is through this Desert Treasure OSRS guide.
You see, there is a very important quest that you must complete if you want to command the most powerful spells of all time in OSRS. This quest is none other than Desert Treasure, one of the most challenging quests in the game and also quite a long one at the same time. But we hope to break down this quest into a much more manageable event in this Desert Treasure OSRS guide.
Bottom Line Up Front
Desert Treasure is the sixth quest in the long line of the Mahjarrat quests in the Kharidian Desert. This is arguably the most important of the eight quests in this line since it gives players access to the Ancient Magicks Spellbook. This item allows you to command the most powerful spells in all of Old School RuneScape and is at the crux of the current endgame PvP meta. To unlock this, you must first venture deep into the desert, gather information, and ultimately find the long-lost treasure there.
Quest Details Up Front
Here are all of the upfront details that you need to know about the Desert Treasure quest, including who can complete it, what items you need to do so, and what other quests you must complete first before you can tackle this lengthy member’s mission.
- Members Only: Yes
- Official Length: Long (This is one of the longer quests in OSRS, especially at this particular point in the progression)
- Official Difficulty: Master (This is seriously one of the most complex base quests that you have in the game, barring some of the ones that came later in OSRS’ life)
- Required Quests: Priest in Peril, The Dig Site, The Tourist Trap, Death Plateau, Troll Stronghold, Temple of Ikov, and the Waterfall Quest
- Required Items: Roughly 650 coins, the ability to enter the Kharidian Desert or a dozen or so Shantay passes to get through, ashes, bones, charcoal, six steel bars, a silver bar, 12 magic logs, six molten glasses, blood rune, garlic powder, spice, cake or a chocolate bar, tinderbox, 50 or more lockpicks and/or hair clips, a face mask/gas mask, climbing boots, and spiked boots
- Required Skills: Level 10 Slayer (sort of optional, more on in a bit), Level 50 Firemaking, Level 50 Magic, and Level 53 Thieving
- Optional Items/Skills: Level 80 or higher combat level, plenty of food, lots of potions, and ice gloves
- Quest Rewards: 3 quest points, 20,000 experience for Magic, ancient staff access, ancient signet unlock, Smoke Dungeon unlock, a ring of visibility, Curse of the Empty Lord quest unlock (as long as you have the ring), and the Ancient Magicks Spellbook for using Ancients
Desert Treasure OSRS Overview
Desert Treasure is one of the bridges between being a member who has done a lot of quests and one that has stepped onto the other side. Once you do this quest, it is basically like passing the point of no return, as you will have access to some of the most essential parts of the endgame in Old School RuneScape.
The unfortunate part about Desert Treasure is that it is the sixth in a long line of Kharidian Desert quests in OSRS. You have five quests right there you need to do, plus some others that are required for this particular mission. Thankfully, we have your back when it comes to tackling this insanely long quest.
Synopsis
A person in the Kharidian Desert has discovered what is believed to be the greatest treasure in all of Al-Kharid and its surrounding regions. It is your job to locate this archaeologist digging around for this treasure and help discover what could be the reward of a lifetime.
Required Items and Skills: How to Get Them
There are a lot of items and skills that you will need for this particular quest. To its credit, the items you need for the Desert Treasure are arguably not that much more than some of the other medium to long quests in RuneScape. That said, it is still a lot and will take some severe grinding in some cases.
Here is how to get every single item you need for this quest, as well as the right skill levels at the same time.
How to Get the Coins and Shantay Passes

For starters, you need around 650 coins. For this quest, you need to be a member, and you have done quite a lot of quests up until this point. You should have this amount already unless you lost it all or gave it away.
For the Shantay Passes, though, this is where it gets interesting. This is necessary for heading deep into the desert, and you need quite a lot of these for this quest. I recommend buying around 12 to be safe, maybe even 20. You can get them from the pass area itself, just south of the city of Al-Kharid.
How to Get Ashes, Bones, and Charcoal
Some ashes are necessary for this quest. You could make a few fires or wait for someone else to do it and then take the ashes left over or buy some of them off the Grand Exchange for a handful of throwaway coins.
For the bones, it is a similar situation. Buy them if you have to, but you could kill some random enemies, and they’ll drop some bones for you. In the case of charcoal, you could head to the Obli General Store in Shilo Village, but that is pretty far away. Alternatively, chop down some dead trees in the Wild. But if both are too much of you, they’re only a couple hundred on the GE.
Bars, Magic Logs, Molten Glass
There are six steel bars that you need for this quest. Your two options here are to either make them yourself by having a level 30 Smithing skill along with one iron ore and two coals or just save some time and buy them for a few hundred on the GE.
For the silver bar, use silver ore to make it or buy it off the GE for about 100 coins. You need 12 magic logs here, which requires at least level 75 Woodcutting and taking down some magic trees. If you haven’t reached that level or just want to save time, this will cost you roughly 13,000 coins for all 12 on the GE.
In the case of the molten glass, anyone can craft these six by using a bucket of sand and some soda ash at the furnace. Or you could just buy some once again at the Grand Exchange for about 100 coins each.
Blood Rune, Garlic Powder, Spice
The blood rune will cost you less than 300 coins on the GE for a single one. You only need one in this case. The garlic powder is where things start to get spicy (literally). In this case, you can make garlic powder by taking some garlic and using a pestle and mortar on it.
Both of those items can be bought on the Grand Exchange, but then you might as well just buy the garlic powder itself there. Next up, there is the regular spice that you need. Head to Ardougne and buy this from the spice trader there or just go to the GE for a quick purchase.
Tinderbox, Cake, and Lockpicks
Tinderboxes are easy enough. Head to any general store and buy it there or get it off the GE. The sweet treat you need here can be either cake or a chocolate bar. Both are easy enough purchases, so I’ll leave it up to you, whichever you prefer since both are found on the Grand Exchange.
In the case of the lockpicks, you need at least 50 of these or, alternatively, around 50 hair clips. Lockpicks are the easiest ones to me since you can just buy them off the GE for less than 300 coins each. That is what I would do if I was completing this quest again today.
Mask, Climbing Boots, and Spiked Boots
For the final round of items we need for this quest, we require either a face mask or a gas mask. A slayer helmet also works in this spot, but that is a bit harder to get. Personally, I’d opt for the face mask because you only need to head to the Grand Exchange and get it for a few hundred coins. The others usually require a quest or a whole lot of coins.
After that, it is time to get some climbing boots. Now, you can technically avoid this particular item if you have level 61 Magic and can use the Trollheim spell, or you have the Eadgar’s Ruse quest done. If not, buy some climbing boots off the GE for about 600 coins.
And last but not least, we have spiked boots. You can get these in the middle of the quest, but the timing is weird, and you need to have an iron bar and some Dunstan climbing boots beforehand. I recommend buying them for less than 4000 coins off the GE and being done with these required items.
How to Get Level 10 Slayer and Level 50 Firemaking
Reaching level 10 in the Slayer skill is surprisingly easy to do, mainly because of how low it is. The idea is to visit the Slayer Master, who is best suited to your level, which the game will indicate for you. Take on whatever quests they have for you, and you will level up at a solid speed, reaching level 10 in a manner of time.
Level 50 Firemaking, on the other hand, is quite a grind, to say the least. If you aren’t a Cooking fan or don’t want to bother with standing around laying down fires all the time, you might not have this one yet. Unfortunately, you don’t get much room to grind this skill other than XP from quests.
You just kind of have to do the same old grind over and over. This means starting with the primary normal logs at level one, moving up to the oak logs at 15, willow at 30, teak at 35, Arctic pine at 42, and maple logs at 45 until you reach 50. I like pairing my Firemaking grinds with Woodcutting for the logs, but that might be too long of a chore for you.
How to Reach Level 50 Magic and Level 53 Thieving
Here is where we have some more tricky skill types. Level 50 in Magic is one that I wouldn’t be surprised you already have if you’ve reached this quest. But if you need some more grinding to get 50, the idea is to do the Imp Catcher, Witch’s Potion, Grand Tree, Growing Pains, Recipe for Disaster (well, up to where you can complete it, at least), and Watchtower quests to get enough XP to reach level 34.
At this point, your job is to enchant crossbow bolts. Since you are a member, you can access this insanely fast way of leveling up your Magic skill. Just keep in mind that it is costly to grind this route, so you will need lots of money or at least the ability to recuperate your losses.
For Thieving, this is a similar venture. You can do a lot of quests that will get you quite close to 53. Completing the quests Biohazard, Creature of Fenkenstrain, Death to the Dorgeshuun, The Feud, Fight Arena, The Giant Dwarf, The Golem, Hazel Cult, Queen of Thieves, Tower of Life, and Tribal Totem will all get you relatively close to around 37.
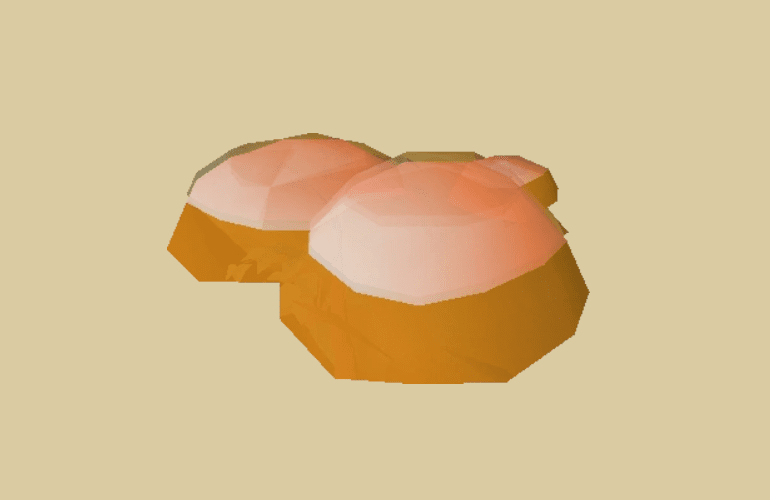
From this point forward, what you want to do is steal away at the fruit stalls in the town of Hosidius. You want to keep this up until you reach 45, at which point you get the blackjacking ability. You want to have The Feud quest completed so that you can go to the town of Pollnivneach to pickpocket the thugs and bandits who live here until you reach 53.
Walkthrough
For my friends who are in a hurry to get this rather long quest done quickly, here is everything that you need to do to find the Desert Treasure once you have all of the above items and skills:
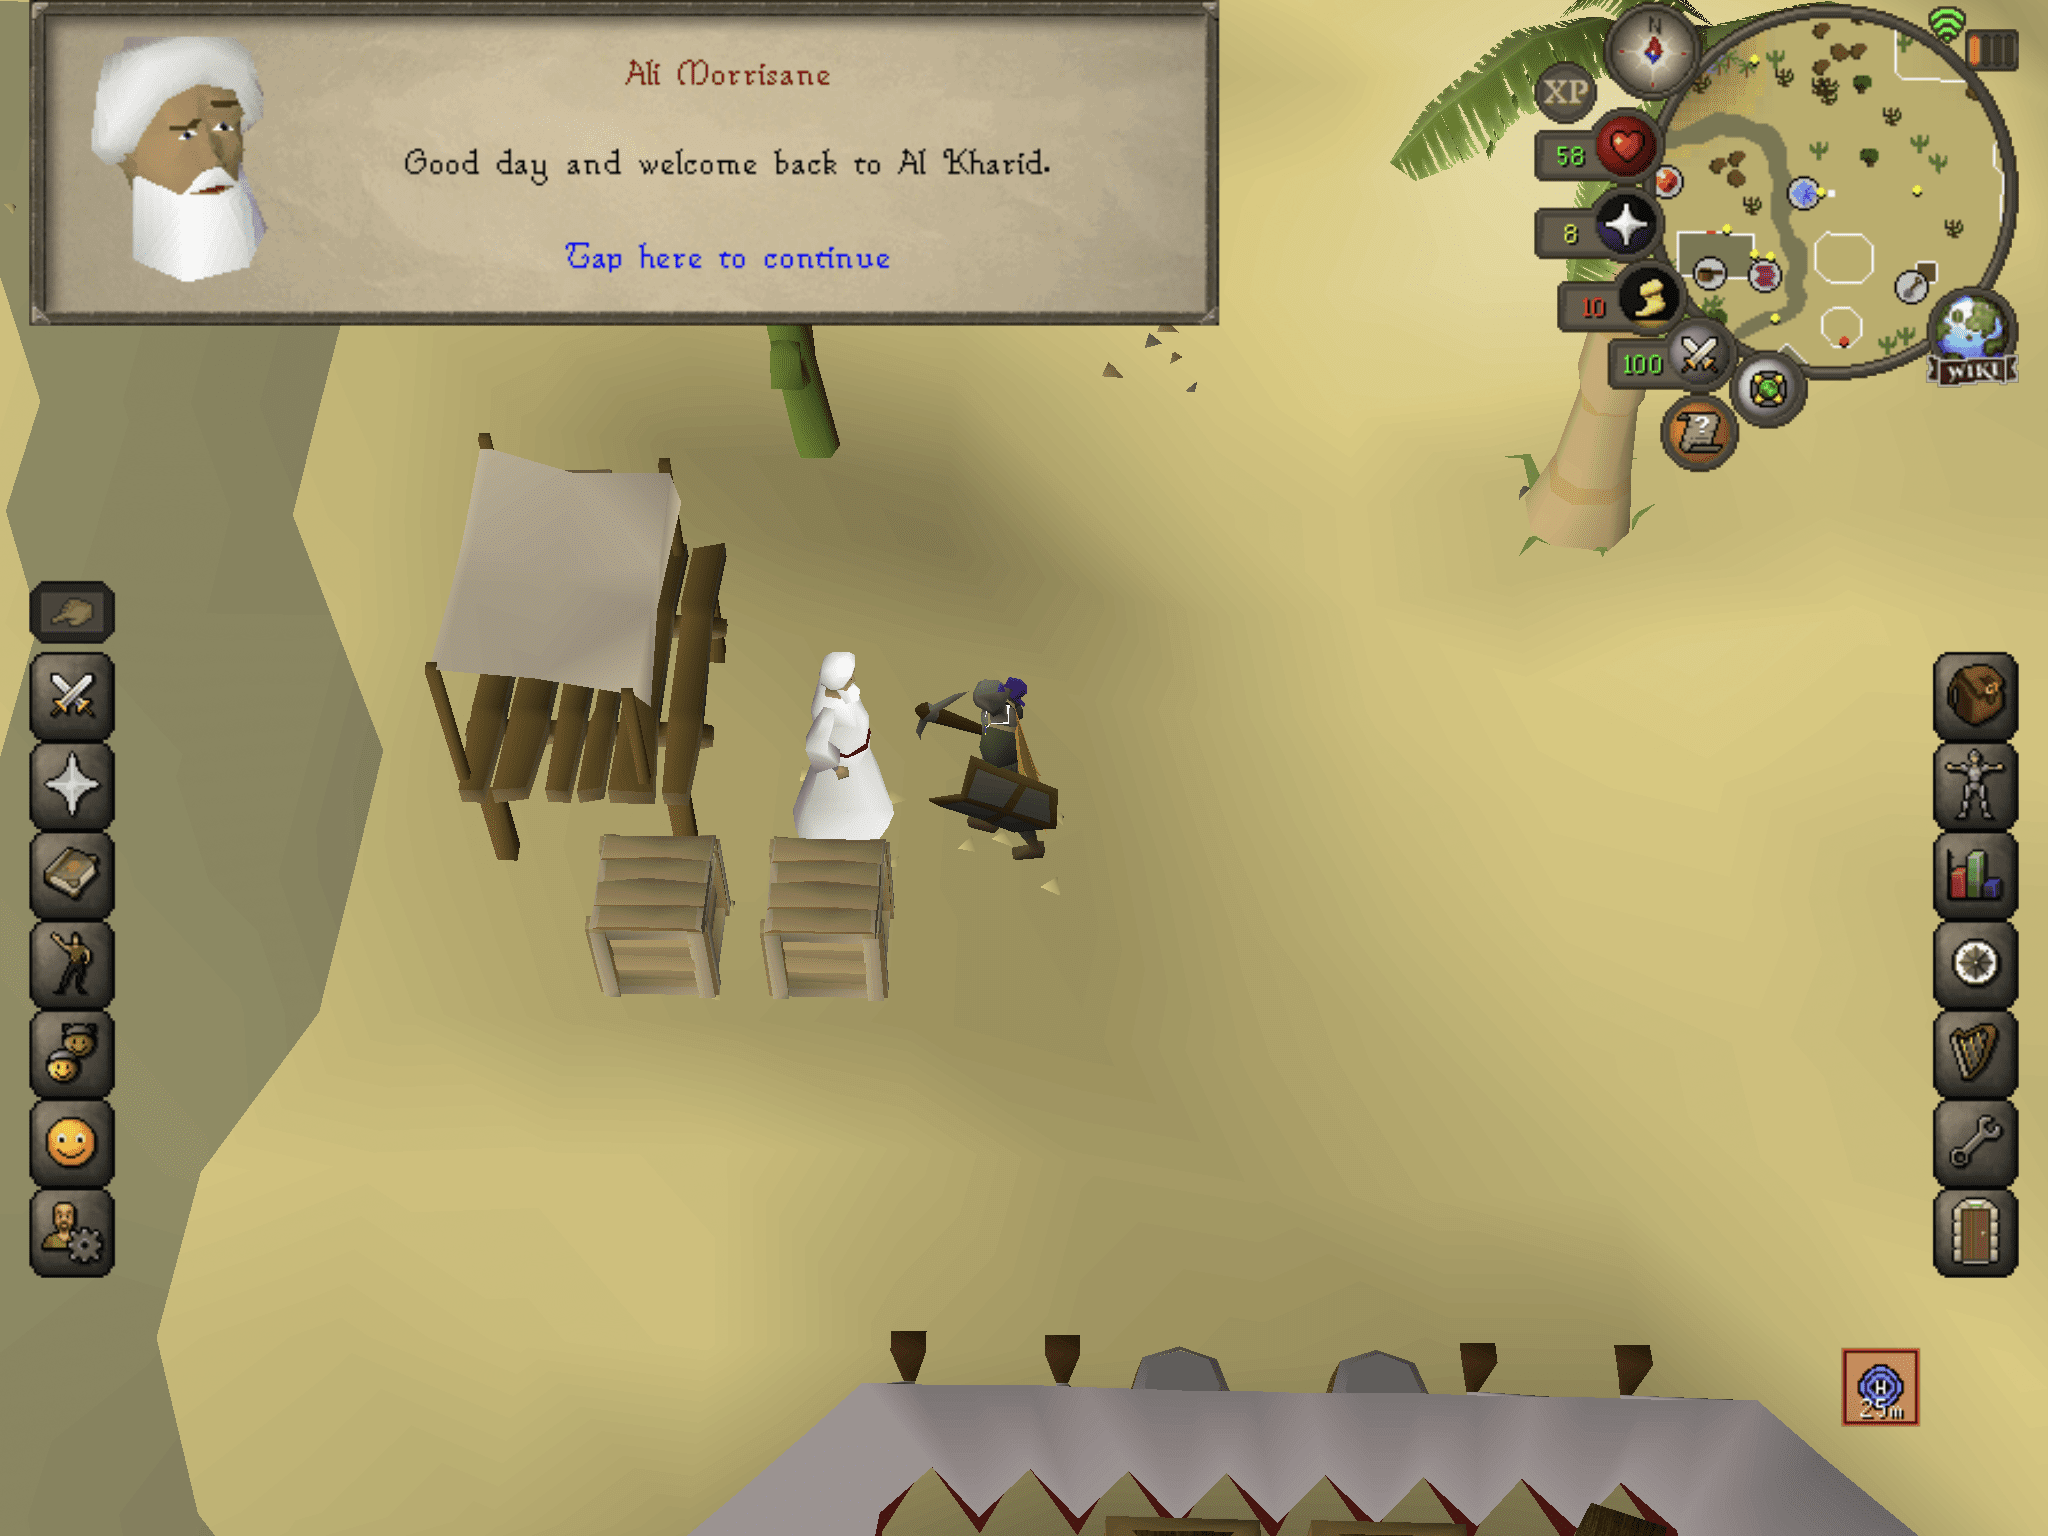
- First off, pass through the Shantay Pass and then head west from there to reach the Bedabin Camp area. Speak with the archaeologist NPC here at the camp and then head on over to Terry Balando, who is all the way over at the Digsite that is near Varrock, just east of it.
- Get the translation from him, head back to the Bedabin Camp, and speak with the archaeologist again. Now you are truly ready to begin this quest.
- Head to the bandit camp, which you will find just south of where you currently are. Talk with the bartender there after you get a drink from him to learn more about the treasure. Then head over to Eblis just east of where you are to learn more.
- Once you have the required items, talk with Eblis again, and he will make the glasses and show you the location of the four diamonds. You can find them in any order you like.
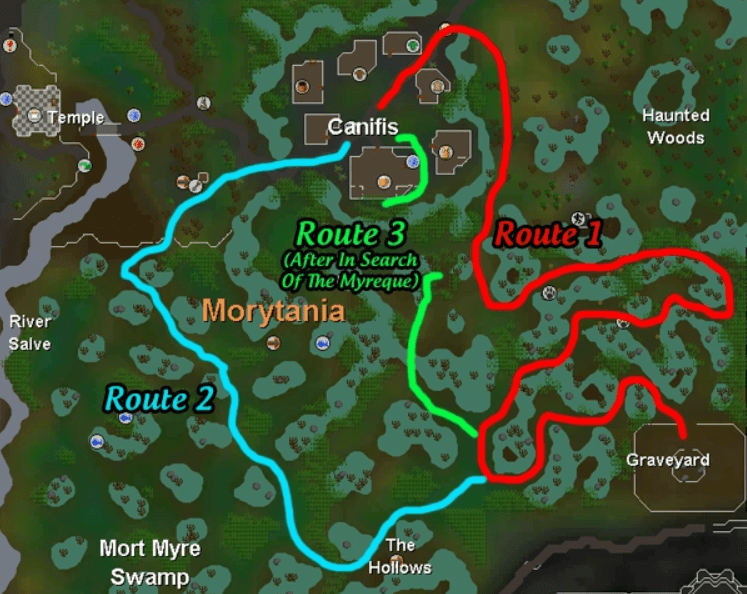
- For the blood diamond, go to Canifis, where you will want to speak with Malak at the bar. Ask him how to kill Dessous, go to Draynor Village, and down the sewers under the trapdoor in town.
- Talk to Ruantun and get a silver pot, then head to Entrana with no weapons or armor on and speak with the high priest there. Then return to Canifis and speak with Malak. After that, mix the garlic powder you got with the pot.
- Head to the Graveyard that is north of Castle Drakan in the Morytania region. Defeat Dessous in a challenging boss fight, then go back to Malak, who will give you the blood diamond.
- For the ice diamond, you need to go to Trollheim in the far north and look for the path that will take you through the Ice Gate. Here, there is a small troll child to whom you need to give your cake or another dessert item.
- Use some restoration potions if you can since your stats slowly deteriorate over time in the icy area. Defeat five trolls; their level does not matter.
- Continue following the Ice Path until you reach Kamil, the boss in this area. Defeat him and continue along the path west, north, and eventually east until you come upon you reach the edge. At this point, you’ll need your spiky boots to climb.
- Eat food if you need to replenish your health and carefully go through this tricky path until you reach the end where the two troll parents are. Release them, and they will give you the ice diamond.
- Now, head to the Fishing Guild and go west to the Tourist Information Center to speak with Rasolo.
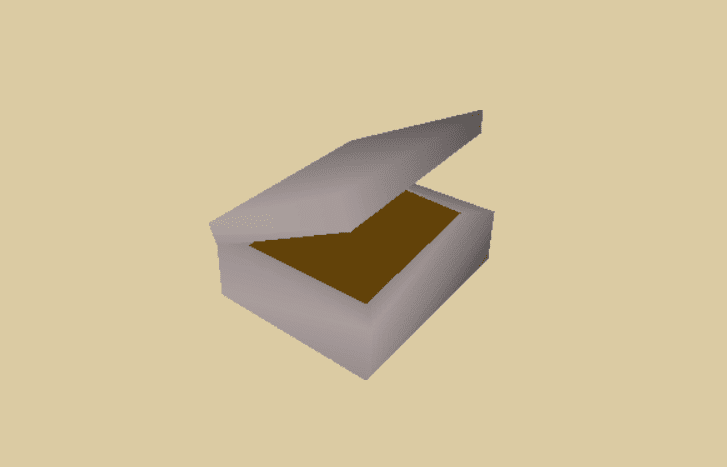
- Head to the bandit camp and use your Thieving skill and lockpicks to open the chest in one of the southern tents.
- Then head down the ladder east of Rasolo down in the underground and follow the path until you reach Damis’ cave. Here, your best bet is to use recovery potions of even protection from melee attacks to survive. You have to stay alive and in the cave until Damis appears; there is no set amount of time.
- Once Damis appears, he has two different phases you must complete. The first is relatively simple but the second is quite hard. I recommend using magic or ranged attacks to take him down from a distance. After his defeat, he pick up the shadow diamond.
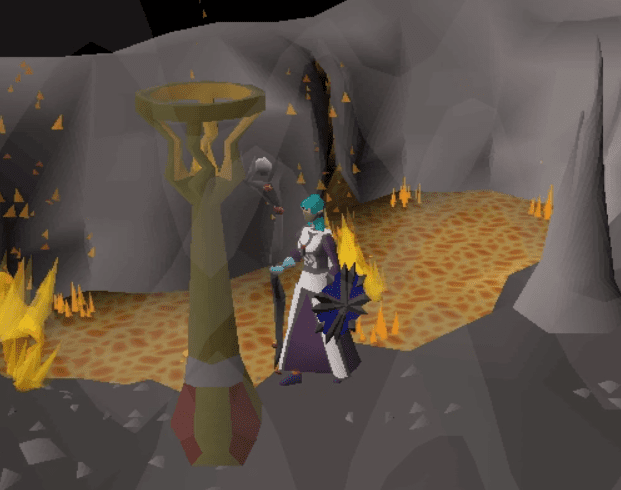
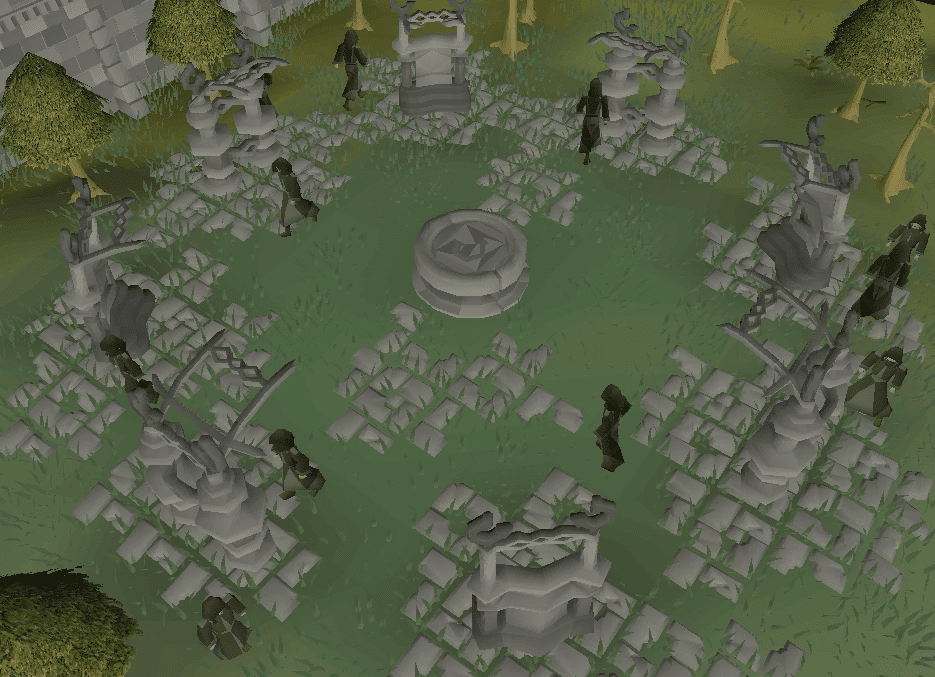
- For the smoke diamond, head to the Smoke Dungeon, roughly southwest of Pollnivneach. You need your Firemaking skill to light the four torches and a gas mask or related item to stay alive.
- The key here is to head to the four corners of the dungeon and light all four torches before they run out of light. An easy way to do this is to have stamina potions to run constantly.
- When you succeed in lighting all four torches at the same time, head to the middle of the dungeon to find a chest that has a warm key inside. Then head to the northeastern corner, which has a gate you can open with the key.
- Continue on this linear path until you reach the end, where the boss, Fareed, is waiting for you.
- You’ll want the ice gloves for this fight and to keep a distance as he was relatively strong attacks. Magic or ranged attacks are the best in this situation. Defeating Fareed will grant you the fourth and final smoke diamond.
- Sadly, you are not done. Go back to Eblis and show him the diamonds. Then head to the great pyramid found just southeast of your current location and put the diamonds in the four large pillars around it.
- Head into the pyramid and bring along some more stamina or other restoration potions to run through the numerous enemies throughout. When you come to the first fork, head east, and you will reach the ladder to the second floor.
- Now head east until you hit a wall, and then go on the path to the south until you reach the next ladder.
- Head west at the first nearby intersection, then east at the second one, and continue east until you hit a wall and go south. Follow this path to the next ladder.
- Head west on the final floor and then north at the first intersection. Continue north past the second intersection until you hit a wall and then west until you hit another wall.
- Head north and then east immediately afterward and continue along this path east until you reach a wall. Continue on the linear path south and west until you reach the altar.
- Interact with the altar to speak with Azzanadra and complete this unbelievably long quest for good.
Specific Quest Tips
I get that this is a very long quest, and we would be here for ages going over every little detail. As such, I have come up with some significant tips that I recommend you go with while you do this quest to ensure that you succeed the most in completing it.
- When you have any of the four diamonds in your inventory, a level 95 Stranger NPC may appear and attack you. It is based on RNG so just try to run to the nearest bank every time you get one of the diamonds.
- You can acquire the four diamonds in any order you like. If you want to get the hardest ones out of the way first, I recommend using the order of ice diamond, shadow diamond, blood diamond, and then smoke diamond.
- The Trollheim area is absolutely horrible and will devastate your health and stats. Many potions, as many as possible, are recommended for this section. The Protect from Melee prayer is also useful here.
- It is possible to safely spot Damis in his cave by using a rat to get in between you and him while hiding in a corner of the cave.
- More restoration and stamina potions are necessary for the final area of the pyramid. Be sure never to stop moving in this area, as enemies will constantly be all over you. It is best just to run through, use potions, and keep running down the different floors until you reach the altar.
- Once you finish this quest, there is a shortcut you can use to reach the altar anytime you want without having to go through the four floors.
- Decide when you finish if you want to use the Ancient Magicks spellbook right now or switch back to the normal one. Praying at the altar will allow you to easily switch between the two.
Desert Treasure OSRS Rewards
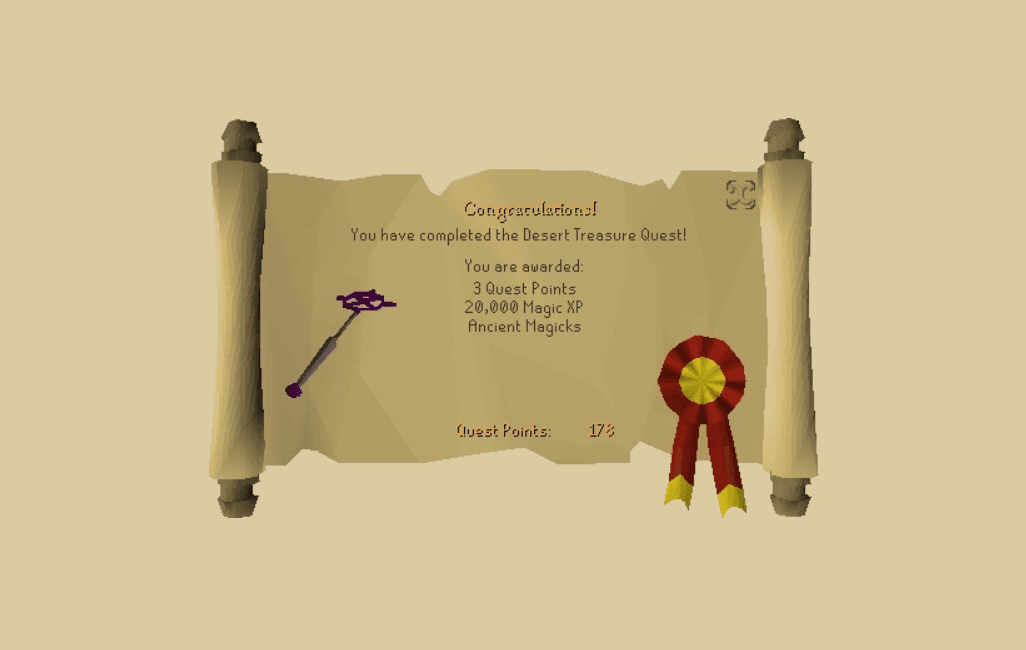
Congratulations! You have completed one of the most challenging and longest quests that you could ever find in Old School RuneScape. Besides now ranking in the upper echelons of the MMO who can safely say that they have done this quest, you also get a whole bunch of rewards for it.
First off, there are the three quest points you get; nothing too surprising or interesting there. You also get 20,000 Magic skill XP, which is nice for boosting your level there if you haven’t reached the max yet. You get to keep the ring of visibility that you got in the quest, and you get access to several other items.
For instance, you can now buy an ancient staff from Elbis if you want to get that for 80,000 coins. In addition, he will also give you the ancient signet if you speak to him again after completing this quest. Furthermore, the Smoke Dungeon will remain available to you, which is excellent for those players who want to do some Slayer missions.
There is also now the Curse of the Empty Lord mission that you can take on that is sort of in the unofficial quest category. With the ring of visibility, you should be able to do this now. And last but certainly not least, the most crucial reward of them all is the Ancient Magicks spellbook. With this book, you will be able to use some of the best spells in all of OSRS.
Follow-Up Quests

What you will find is that completing the Desert Treasure quest will now unlock so many different missions, quests, diaries, and other content that you can now complete. In terms of mini-quests that aren’t actual legit quests like this one, there are several you can now do.
Of course, there is Curse of the Empty Lord with the ring you now have, but you can also do The Frozen Door and Hopespear’s Will. For the fans of the diaries in the game, there are many of them that require you to complete Desert Treasure, and those are as follows:
- Ardougne Elite Diary
- Desert Hard Diary
- Desert Elite Diary
- Lumbridge Elite Diary
- Morytania Hard Diary
- Varrock Hard Diary
- Wilderness Elite Diary
Finally, there is a single quest that is, technically, the only full-on quest that requires you to do this Desert Treasure quest: Recipe for Disaster. While you can start that quest before Desert Treasure, you’ll need its completion to finish the mission.
FAQs
Question: What are the requirements for Desert Treasure OSRS?
Answer: The requirements for being able to take on the Desert Treasure OSRS quest, including previous quests and skill levels, are as follows:
Death Plateau
Priest in Peril
Temple of Ikov
The Dig Site
The Tourist Trap
Troll Stronghold
Waterfall Quest
Level 10 Slayer
Level 50 Firemaking
Level 50 Magic
Level 53 Thieving
Question: Can you bank the diamonds in Desert Treasure OSRS?
Answer: Yes, you can put the four diamonds in your bank after acquiring them in the Desert Treasure OSRS quest. This is actually recommended to avoid the Stranger coming after you.
Question: How do you get into pyramid Desert Treasure OSRS?
Answer: You can access the pyramid in Desert Treasure OSRS once you get all four diamonds and then place them in the four surrounding pillars outside of the pyramid.
Your Next Old School RuneScape Quest
When you finally finish the long and arduous journey of finding the Desert Treasure, which just so happens to be the Ancient Magicks spellbook, you are ready to take on your next quest in OSRS. It is up to you which one you would like to take next, but my recommendation is Demon Slayer, one of the more challenging quests in OSRS, and a prerequisite, like Desert Treasure, for the unforgettable Recipe for Disaster quest.
Looking for more interesting readings? Check out:
- Magical Eggs Guide: All Magical Eggs In OSRS And How To Get Them - October 21, 2022
- Darkness of Hallowvale OSRS Guide - October 21, 2022
- Brimstone Ring Guide - October 20, 2022