

The Fremennik quest line in Runescape is an exceptional quest line to go through because it introduces players to an entire culture and region of the game that is otherwise wholly missable. The quest series is started by completing the Fremennik Trials quest, which thankfully doesn’t have too many requirements for players to meet before they can enjoy it for themselves. So, if you’re ready to see a whole new side to the world of Gielinor, here is how to complete the Fremennik Trials quest in Old School Runescape.
Key Info Up Front
- Members Only: Yes
- Prerequisite Quests: None
- Official Quest Length: Medium
- Official Quest Difficulty: Intermediate
- Quest Series: Fremennik
- Required Skills: Fletching Level 25, Woodcutting Level 40, Crafting Level 40
- Required Items: Axe, Knife, Raw Shark, Tinderbox, 5,252 coins
Completion Rewards: 3x Quest Points, 2,812.4 experience in Agility, Woodcutting, Attack, Thieving, Crafting, Strength, Defense, Hitpoints, Fishing, and Fletching, Ability to wear Fremennik equipment, access to Jatizso, Etceteria, Miscellania, and Neitiznot
Prerequisite Quest For: Fremennik quest series, Olaf’s Quest, Throne of Miscellania, and Rag and Bone Man II
Fremennik Trials Overview
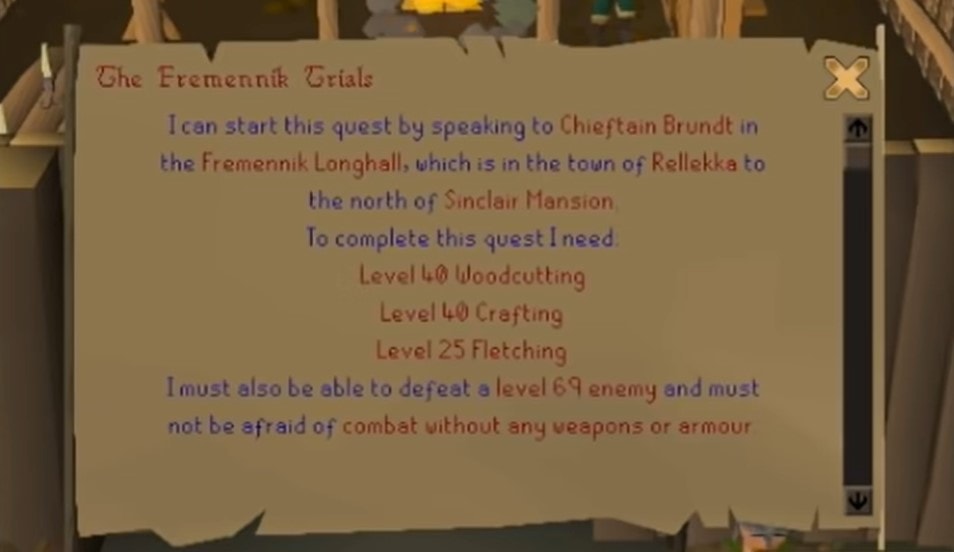
The Fremennik Trials quest is officially rated as having an Intermediate difficulty and a Medium length. This means that players should expect the quest to take anywhere from 30 to 60 minutes to complete depending on how strictly they want to follow this guide or figure things out on their own. The intermediate difficulty means that it comes with some skill level requirements but that they are mid-level, topping out at level 40. The quest also requires players to be able to defeat a combat level 69 monster, so I recommend not starting it until you have at least a combat level of 40, as well as bringing solid gear and plenty of healing items.
The quest itself follows the player as they complete a short series of trials to be inducted into the Fremennik clan as an honorary member. At first, this is done so that the barbarian tribe will allow the bridge connecting Kandarin and Rellekka to be repaired, but once the player is inducted into the clan, they get wrapped into its concerns and happenings as well.
Required Skills
Before you can start the quest, however, you need to meet its skill requirements. If you already meet them or want to progress through them on your own, feel free to skip this section. Otherwise, you can find the most optimal ways to level each skill found by the game’s community below. Each of the methods described below will start at the very first level of that skill in case you need to grind all the way up to the requirement. They will also be broken into different activities for certain level ranges of that skill, so if you don’t need to earn every single level, you can jump in wherever you are.
Fletching Level 25
When you first start Fletching, you’ll want to make Arrow Shafts until you reach Fletching Level 5. This is done using a knife on logs, which you can collect while training your Woodcutting below. Once you get to Fletching Level 5, I recommend switching to making Bows. There are faster methods of training Fletching, but they require more setup and resources to complete, and since you only need Fletching Level 25 for this quest, I think this method is best.
To make bows, you can use the wood you have gathered from training your Woodcutting below, or you can purchase some cheaply from the Grand Exchange. Either way, you’ll want to make Shortbows until reaching Fletching Level 10, followed by Longbows until level 20, make Oak Shortbows for the last five levels required. If you have bowstrings, you can also string the bows to get more experience and make more money from selling them, but this is only worthwhile if you can get the bowstrings with minimal effort.
Crafting Level 40
Training your Crafting will take the most time and investment for this quest because of how many resources it requires. For the first twenty levels, you should make leather items. From Crafting Level 1 to 7, make Leather Gloves, followed by boots until level 9, Cowls until level 11, Vambraces until level 14, and finally Leather Bodies until level 20. To create each item, you will need one piece of Leather, a Needle, and some Thread. To get to Crafting Level 20, you need to collect the Needle from a general shop, 50 Thread from a shop, and 217 Leather either from killing cows or buying it from the Grand Exchange.
To train from Crafting Level 20 to 40, you have two options depending on how many coins you’re willing to invest in the process. If price is no object cutting gems with a chisel is by far the fastest method. You should cut Sapphires from Crafting Level 20 to 27, Emeralds from 27 to 34, and Rubies from 34 to 40. Getting enough gems to cut them takes a lot of time, so you’re better off buying them from the Grand Exchange, but that is where the method’s extreme cost comes into play, especially since they sell for less than they do uncut.
If you don’t want to spend the money, and I don’t think anyone would blame you, you’re better off crafting with molten glass to earn the second half of your levels. To make Molten Glass, you first need to get a Glassblowing Pipe from one of Trader Stan’s Trading Posts throughout the game world. You then have to gather sand and use it in a furnace to create molten glass that can be turned into different items. From Crafting Level 20 to 33, you should make Empty Oil Lams before making Vials to reach level 40.
Woodcutting Level 40
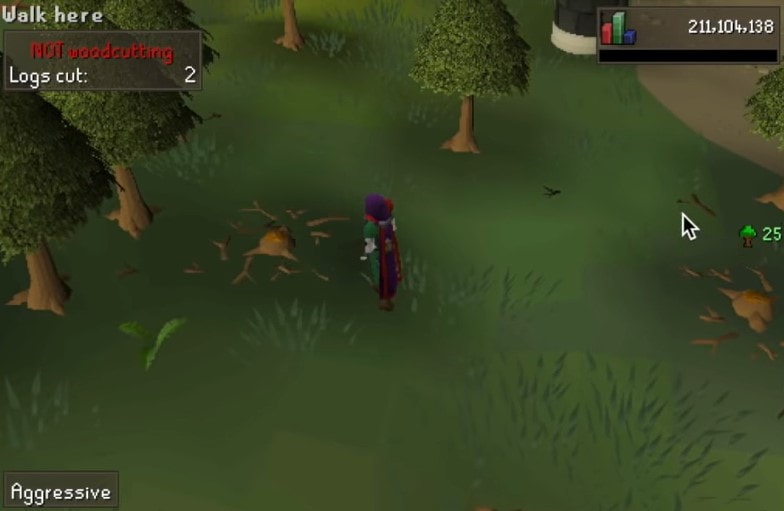
The methods for training Woodcutting depends on your preferred style and investment in doing so. The quickest way to go from Woodcutting Level 1 to 26 is by completing the quests Icthlarin’s Little Helper, Monk’s friend, Recipe of Disaster’s Skrach Uglogwee subquest, and Enlightened Journey. If you don’t want to go off doing other quests to level it, you should chop regular trees until you reach level 15. Then, you can chop oak trees until level 30, followed by willow trees until level 40. I recommend chopping regular and oak trees for at least a while to level up this skill so that you can also use the wood for your Fletching training.
Required Items
It can also be helpful to gather the items necessary for the quest before starting it so that you can progress through it more naturally. While this is not necessary, I want to break down the items you should have in your inventory before starting the quest for players who want to get through it with as few distractions as possible.
5,252 coins

No matter how you decide to get them, you’ll need precisely 5,252 coins for this quest. At this point in the game, you should have a lot more than this or a method to quickly gather the required funds using one of your highest production skills.
Tinderbox

You will likely have a Tinderbox since they are given to every new player at the start of the game. However, if you’ve lost it somehow, you can get a new one for only a coin or two at most general stores.
Raw Shark

Don’t worry if you don’t have a high enough Fishing Level to catch a Raw Shark yourself. You can always head to a fishing store and purchase one for around 220 coins, and there is even the Fremennik Fish Monger right by where you will start this quest in Rellekka.
Axe
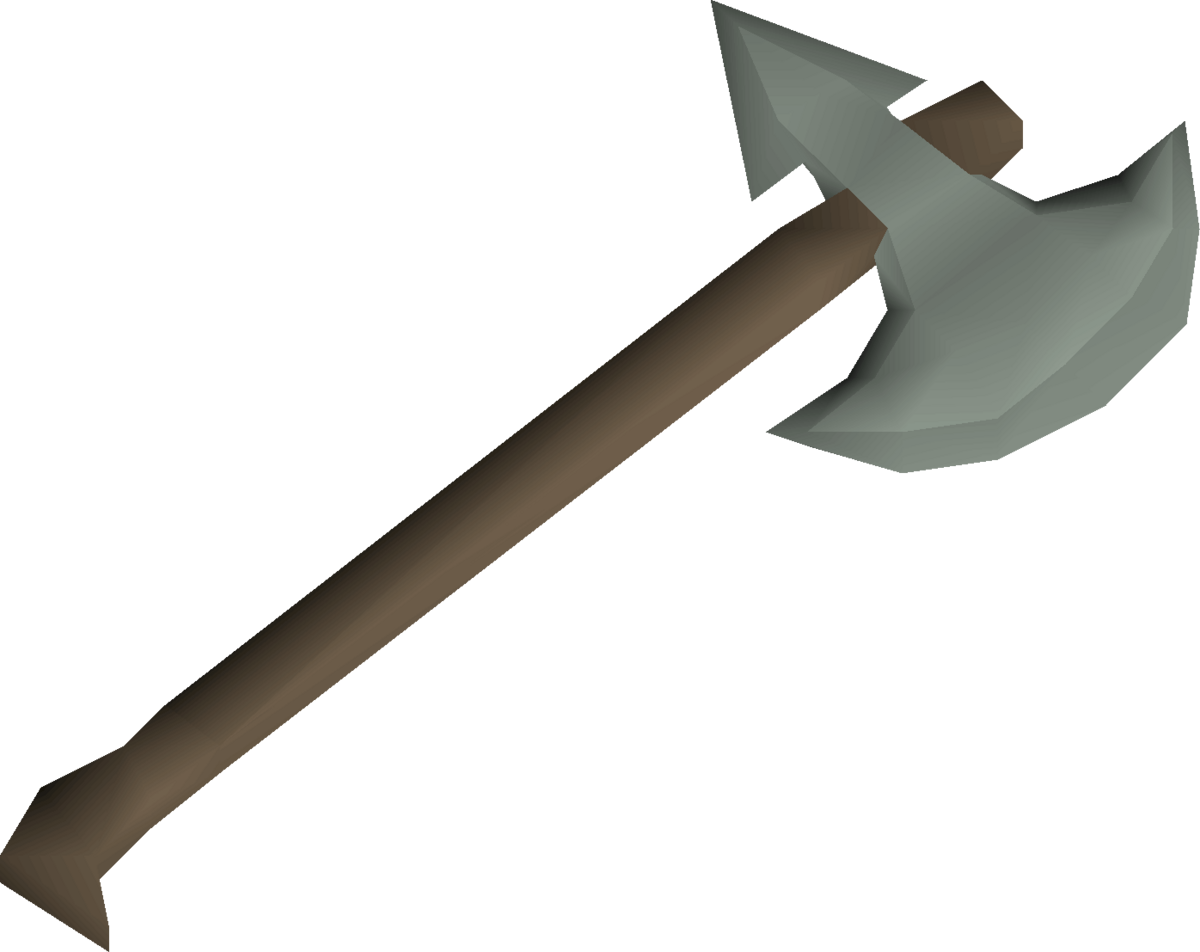
If you already had a high enough Woodcutting Level, you should have an axe from leveling your Woodcutting for this quest or a time before this. Any level of the axe will be sufficient.
Knife

You should already have a Knife from training Fletching, but if you don’t, you can buy one from most general stores or Trader Stan’s Trading Post for anywhere from seven to 15 coins.
Fremennik Trials Walkthrough
Getting Started
Required Items: None
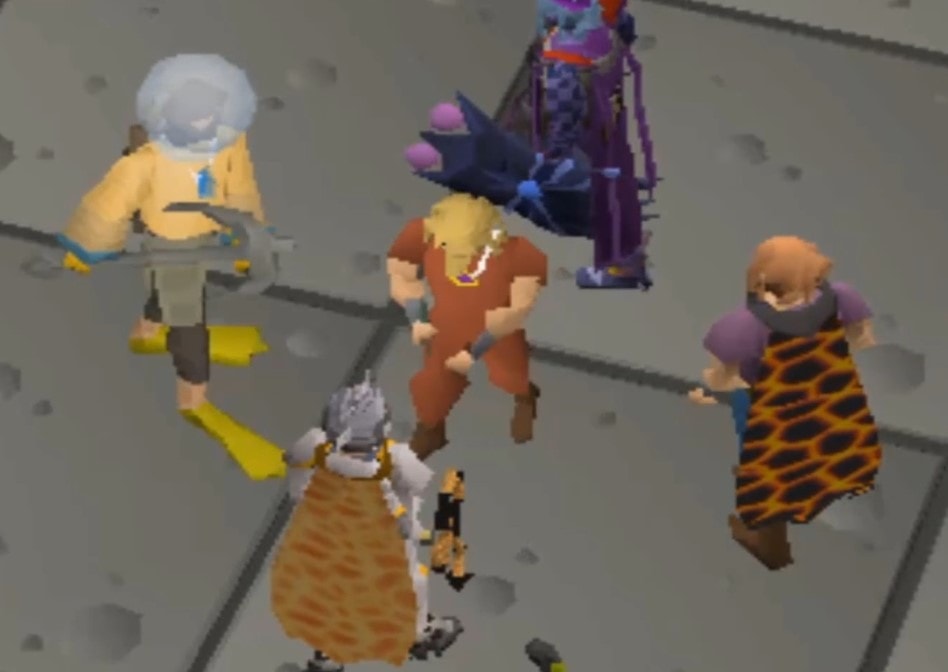
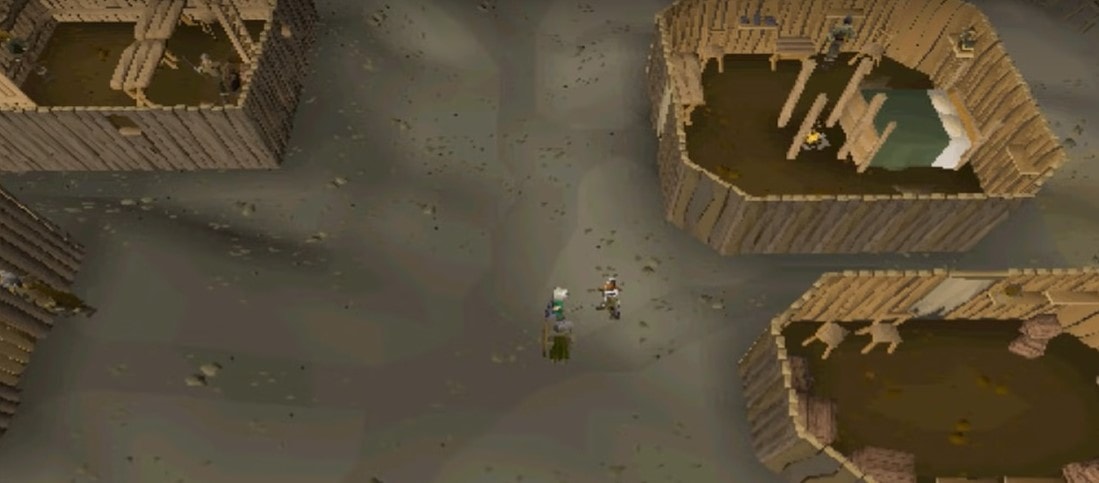
To start Fremennik Trials, you’ll need to speak with the barbarian chieftain Brundt. If you don’t know where to find him, he can be found by looking for the quest icon to the north of the path leading into the village. When you talk to Brundt, he will tell you that if you want to become an honorary member of the tribe, you will need to gain the favor of seven members. It is important to note here that Brundt will give you twelve possible members who can give you their favor, but five of them are impossible to get, so you can ignore them. You can also do the below seven sections in any order that you wish to progress through the quest.
Clan Member 1: Peer
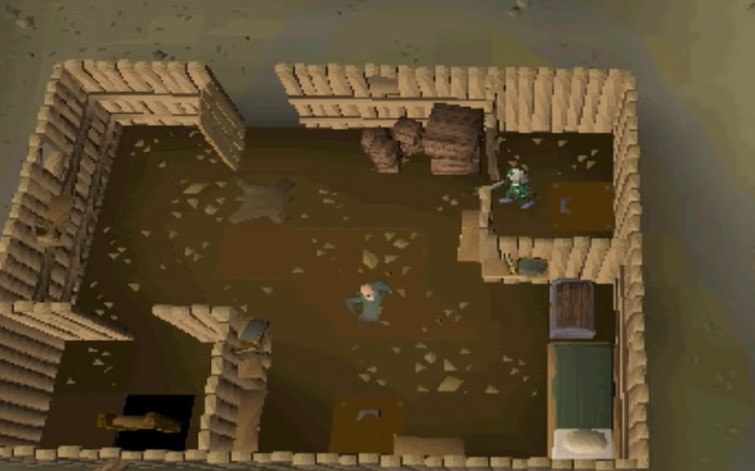
Required Items: None
Peer is the village’s local seer and can be found in the southern part of Rellekka’s town center. When you talk to him, he will challenge you to enter the house behind him and navigate the numerous challenges within to make it out to the other side. Before you attempt to do so, he will also require you to deposit all of your items at the bank so that you can’t take them into the house with you. He does this for you, but this makes some players prefer to do this section last so that they don’t have as many items to deposit and don’t have to run to the bank before continuing the quest.
Before you can even enter the house, you will have to answer a riddle. The answer to the riddle is always one of six four-letter words. Peer will give you hints for each letter in the word. To make it easy, however, you can check the list below that details what the password is depending on what the first riddle he gives you is.
- If Peer tells you that the word’s first letter is found in the word mage but not wizard, the password is Mind.
- When Peer tells you that the password’s first letter is in the word tar, the answer is Tree.
- If the word’s first letter is said to be in the word well but not the word sea, the password will be Life.
- Peer telling you that the first letter is in the word fish, but not sea means that the password is Fire.
- The first letter being in water but not tea indicates the password is Time.
- Finally, if Peer’s clue is the inverse of the Mind-password clue, your password is Wind.
Once you make your way inside the house, you will have to complete a convoluted procession of tasks and interactions to make it out to the other side. The first thing that you’ll need to do is search everything that you can find. You need to do this until you find a Bucket, an Old Red Disk, an Empty Jug, a Wooden Disk, and a Red Herring. Once you have the items, you’ll need to travel to the kitchen and use your Empty Bucket on with the tap there to fill it.
Then, select use your Empty Jug and use it on the Bucket to end up with a partially filled Bucket. You then need to empty your Jug again by using it with the sink in the kitchen to pour the water out of it. By combining the Bucket and Jug again, you will then end up with a partially filled Jug. This will leave your Bucket empty again, so fill it up at the tap once again before using the Bucket and Jug together.
All of this was to get a Bucket that is only 4/5ths filled, which you then have to use on the locked chest in the house to get a Vase. Head back to the kitchen and use the Red Herring that you have on the range there, and it will be turned into an item called Sticky Red Goop. Using the Sticky Red Goop with the Wooden Disk will turn them into a second Red Disk.
Once you have two Red Disks, you need to go down the ladder and use both of them with the mural found down below to get a Vase Lid. Once you have the Vase Lid, you can use the Jug with the Vase to fill it with after. Then, use the Vase Lid with the Vase to make a Sealed Vase. You’ll then have to take the Sealed Vase to the frozen table on the floor above you to get a Frozen Key. Take the Frozen Key back to the kitchen and use it on the range before going down the ladder next to the frozen table to exit the house and get Peer’s vote.
Clan Member 2: Manni
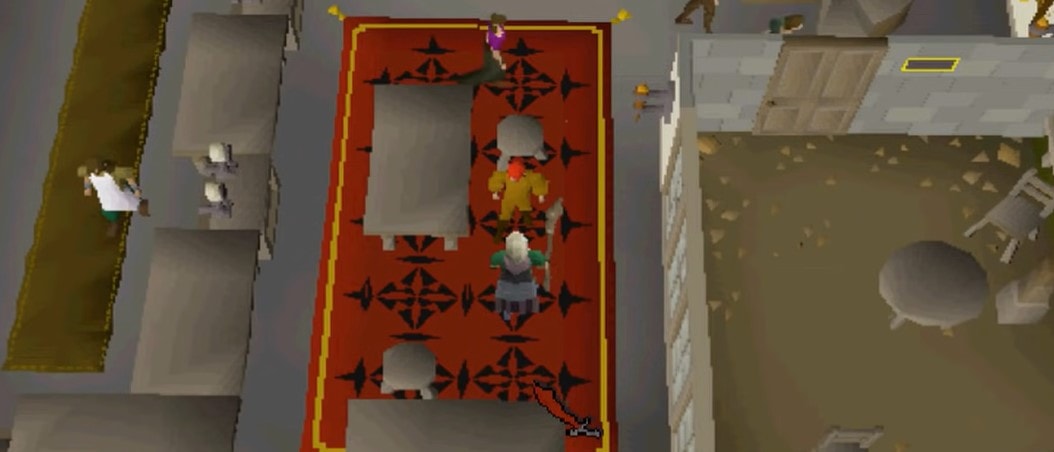
Items Required: Tinderbox, 250 coins
The barbarian Manni is found inside the village’s tavern where you talked to Brundt. To win over Manni, you need to beat him in a drinking contest. To start, talk to him and accept the challenge. You then need to walk over and grab the Keg of Beer and the Beer Tankard before returning to him to start the contest. No matter what, you will lose the contest.
Once that is done, travel to the Seers’ Village by heading south or teleporting to Camelot. In the Seers’ Village, you’ll need to find the Poison Salesman near the tavern and buy a Low Alcohol Keg from them. Once you have that, head back toward Rellekka and stop to talk to the Council Workman by the bridge along the way. You’ll be able to give him the Beer Tankard you took from the tavern in exchange for a Cherry Bomb. Then, head back to Rellekka and use the Cherry Bomb on the pipe after lighting it with your Tinderbox.
Once that is done, head back into the tavern, grab a new regular Keg, and combine it with the Low Alcohol Keg in your inventory. The Cherry Bomb will then explode, giving you enough time to switch the Kegs while everyone is distracted. Once that is done, talk to Manni to attempt the contest again, and you will earn his vote.
Clan Member 3: Thorvald
Items Required: None
Thorvald is a fierce barbarian warrior found inside the village’s helm shop. To earn his vote, you’ll need to impress him with your bravery and ability in combat by fighting a creature named Koschei the Deathless. However, the fight has some special rules. The first is that you need to defeat Koschei three times, and they will get more powerful each time they are defeated. The second condition is that you have to complete the fight without using any weapons, armor, or runes.
To make the fight survivable if you aren’t extremely over-leveled for this quest, I recommend bringing a lot of food and potions to boost your stats and keep you fighting. You should also use defensive prayers as much as possible to help you throughout the three phases. However, it is important to note that you are expected to die during the fourth phase and will be saved during a cutscene, even if you are playing an Ironman character.
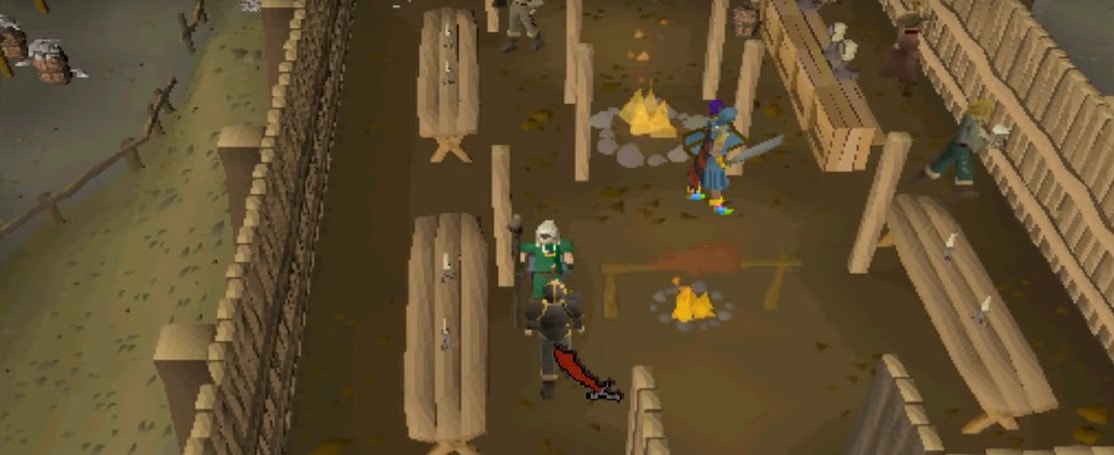
Clan Member 4: Olaf
Items Required: Raw Shark
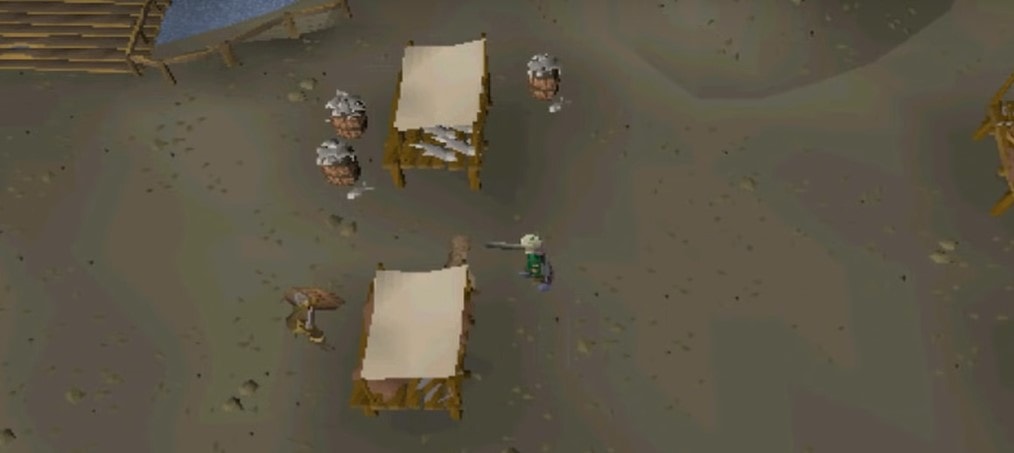
You will find Olaf just outside of the tavern, where he usually performs as the village’s bard. You’ll need to perform in the bar yourself to earn his vote, which you require a Lyre to do. There are two methods to get the Lyre, but the easiest is to go to the village’s eastern side and kill the named characters like Lanzig, Freidir, Borrokar, and Lensa. They each have a solid 5.89% chance to drop the Lyre and respawn very quickly.
Once you have the Lyre, you will need to take it and your Raw Shark to the peninsula to the south of the village. There you will find an altar that you need to use the Raw Shark on to summon a spirit that will enchant the Lyre for you. Then, head back to the bar and interact with the door behind the bouncer inside to play on stage before talking to Olaf to get his approval.
Clan Member 5: Swensen
Items Required: None
Swensen works as the village’s navigator, so his challenge for the player is to find their way through a maze of portals that he’s set up inside his house. Each room in the house has a portal in each of the four cardinal directions. The rooms can either be well light or dark and filled with webs. Rooms lit up are ones on the correct path to the end, while dark ones are dead ends. If you ever read a dark room, climb the rope inside it to go back to the beginning and start over.
If you want, you can piece together the correct path through trial and error. Otherwise, you can get through the maze by picking portals in an order that spells Swensen’s name. For example, the first portal that you need to go through is to the south for the s at the start of his name, followed by the one to the west for the w.
Clan Member 6: Sigli
Items Required: Combat Equipment
Once you’re ready to earn Sigli’s approval, you’ll find him near the village’s gate. He will ask you to find a powerful spirit named Draugen and fight it. To help you find the Draugen, he will give you a talisman that you can use the locate interaction within your inventory to get a message in the chat box that will direct you toward the spirit. Fighting the Draugen shouldn’t be a challenge for you, but you should note that it is highly resistant to Ranged attacks.
Clan Member 7: Sigmund
Items Required: 5,000 coins
Sigmund is a merchant found by the market stalls in the town’s center. To get his approval, you’ll need to track down an extremely rare flower for him, which kicks off a long procession of various favors you have to do for other people throughout the village. After talking to Sigmund, you first need to go to the docks and talk to the Sailor there, who will tell you that he wants a ballad written about him. From there, go talk to Olaf outside the village’s tavern, who will ask you for some boots.
To try and get boots, you must go to the clothing store right by the agility course. There you can talk to Yrsa, who agrees to make the boots for you, if you can convince Brundt to lower the taxes levied on stores in the village. So, head to the tavern and talk to Brundt, who will say that he can lower taxes if Sigli can show him where to hunt monsters nearby.
This means that you’ll have to go talk to Sigli to your south. He will agree to help you, but only if you can get him a custom new bowstring. To get the bowstring, you’ll need to head to the helm shop for some reason and talk to Skulgrimen there. He will say that he can make you the bowstring in exchange for a rare fish that he heard the local fishermen caught recently.
So, you’ll need to head to the dock and talk to the fisherman there who wants a map of fishing spots in exchange for the fish. To get the map, you’ll need to head to Swensen at his house on the southern side of the town center, but he will first request a forecast report for the local weather. For the forecast, you’ll need to talk to Peer to the northwest, but he will only do so if you can convince Thorvald to act as his bodyguard.
Thorvald is back at the helm shop to head there and talk to him. He’ll agree to act as Peer’s bodyguard, but only if you can manage to get him his seat in the tavern. To get Thorvald his seat you’ll need to go to the tavern and talk to Manni, who agrees to give up their seat for Thorvald if you can get him one of the barkeep’s amazing cocktails. Before the barkeep, named Thora, will make the cocktail, you need to get Askeladden to sign a bar saying that he will stay out of the tavern.
You can find Askeladden just south of the tavern and pay him 5,000 coins to sign the note. Once you have the note, you can go back through all the characters to give them all they want and eventually earn Sigmund’s favor. The order you have to go to characters is below:
- Thora
- Manni
- Thorvald
- Peer
- Swensen
- Fisherman
- Skulgrimen
- Sigli
- Brundt
- Yrsa
- Olaf
- Sailor
- Sigmund
Once you’ve collected the approval of all seven members, you can return to Brundt to complete the quest and collect your rewards.
Fremennik Trials Rewards

Upon completing the quest, you will get a range of rewards. To start, you will get three quest points as well as the ability to travel to the islands of Jatizso, Miscellania, Neitiznot, and Etceteria. You will also be able to equip Fremennik equipment and get 2,812.4 experience in Agility, Attack, Crafting, Defense, Fishing, Fletching, Hitpoints, Strength, Thieving, and Woodcutting.
FAQs
Question: How do you start the Remennik Trials quest?
Answer: To start the quest, you’ll need to travel to the barbarian village of Rellekka and talk to its chieftain named Brundt.
Question: How do I get to Fremennik Isles?
Answer: You can reach the Fremennik Isles by talking to Maria Gunnars on the northern dock in Rellekka after completing the Fremennik Trials quest.
Question: What can you use the Enchanted Lyre for in Runescape?
Answer: After you’ve completed the Fremennik Trials quest, you can use the Enchanted Lyre to teleport to the village of Rellekka from anywhere in the world.
Conclusion
The Fremmenik Trials quest in OSRS is an enjoyable one to play through because of how many unique pieces it includes. It introduces players to a different culture and area within Gielinor and challenges players with various types of puzzles and combat encounters. The quest also includes the unique structure of allowing players to tackle its challenges in whatever order they choose, which is a breath of fresh air compared to the game’s more linear quests.
Looking for more interesting readings? Check out:
- RS3 Items Overview: Which Items Are Worth Your Money?
- Runescape Raids Guide
- Adamant Dragon RS3 Guide
- Zulrah Guide - October 22, 2022
- Tempoross OSRS Guide - October 15, 2022
- Calisto OSRS Guide - October 15, 2022