

The Fate of the Gods quest is the conclusion of a quest line that started back in 2003. It deals with the return of the god Zaros who controls fate and control. It also plays a key part in the story that defines the boundary between Old School Runescape and Runescape 3, which is the gods’ return to the land of Gielinor. It also plays a part in three quest series (Return of Zaros, Gods, and Elder Gods) and is one of the most challenging quests in the game.
Key Info Up Front
- Official Length: Very Long
- Official Difficulty: Grandmaster
- Skill Requirements: Summoning Level 67, Agility Level 73, Divination Level 75, Slayer Level 76, Magic Level 79
- Required Items: None
- Prerequisite Quests: Missing, Presumed Death
- Available Platforms: Mobile, PC (Since the game is not available on other platforms yet like Nintendo Switch, Xbox One, etc)
Completion Rewards: 2x Quest Points, 2x Treasure Hunter Keys, 125,000 Magic Experience, 100,000 Divination Experience, 100,000 Slayer Experience, 75,000 Agility Experience, 50,000 Slayer Experience, 1x Survivor’s Lamp, 1x Shard of Zaros, and access to Freneskae through the World Gate.
Fate of the Gods Overview
Fate of the Gods is an extremely challenging quest, so you’ll need to wait until you’re very experienced before attempting it. Its official difficulty is Grandmaster, and its official length is Very Long, so you’ll have to spend at least a few hours to get through the quest line. However, you don’t have to do it all in one sitting, so feel free to log out and come back whenever you need to as just completing this is an achievement.
This main quest technically only has one required mission in the quest line, which is Missing, Presumed Death. However, there are some other quests that I recommend completing first to make sure you have all of the context, information, and pretty things necessary to understand what happens in Fate of the Gods. These quests are:
- The World Wakes (World Wakes, in particular, is highly recommended)
- The Firemaker’s curse
- Ritual of the Mahjarrat
- Enakhra’s Lament
- A Fairy Tale III – Battle at Ork’s Rift
- Fight Arena
- Hazeel Cult
- Rocking Out
- The Slug Menace
- A Tail of Two Cats
- The Temple at Senntisten
- While Guthix Sleeps
Fate of the Gods Required Skills
Before you start the main quest in Fate of the Gods, you’ll have to get some of your skills pretty high to deal with the ancient curses and everything else. You likely won’t have all of the requirements met, as that would be an achievement in its own right, so below are the skills you need and how to grind for them.
Summoning Level 67
Summoning is one of the most expensive skills to level, despite not typically involving ancient magick skills. Thankfully, this is counteracted slightly by the immense benefits that players can get from their summons at higher levels. If you haven’t, you should start leveling Summoning by completing the quest Wolf Whistle to quickly jump up to Summoning Level 4. Once that is done, you’ll have to start creating Summoning pouches. To do so, you’ll first have to buy some empty pouches from Pikkupstix in Taverley. Each pouch only costs one piece of gold.
You’ll also need to gather charms that can be earned by grinding out simple monster kills against creatures like rock lobsters, glacors, and cockroach soldiers. These will be helpful in the quest and with any ancient curses and the like you face. You then will also need to collect Spirit Shards. You can get these from the Grand Exchange or geodes while mining. Finally, you’ll need to collect third ingredients dependent on what kind of pouch you want to make. A table for what pouches you should make while leveling as well as the ingredients needed for them, is below.
| Summoning Level | Pouch Type | Ingredients |
| 1-4 | N/A | N/A |
| 4-16 | Dreadfowl | Gold Charm, Raw Chicken |
| 16-28 | Granite Crab | Gold Charm, Iron Ore |
| 28-33 | Compost Mound | Green Charm, Compost |
| 33-41 | Beaver | Green Charm, Willow Logs |
| 41-47 | Macaw | Green Charm, Clean Guam |
| 47-52 | Magpie | Green Charm, Gold Ring |
| 52-61 | Bloated Leech | Red Charm, Raw Beef |
| 61-67 | Ibis | Green Charm, Harpoon |
Agility Level 73
When it comes to grinding Agility you can increase your experience gains by equipping pieces of the Nimble Outift from completing runs of the Pit. Whether you want to get it before you start or not, you’ll have to start by running the Gnome Stronghold Agility Course until you reach Agility Level 18 by running around the course repeatedly. You’ll then be ready to move onto the Watchtower Shortcut trellis north of Yanille. Do this until you reach Agility Level 25 and complete the quest The Grand Tree to jump up to Agility Level 31.
You can then complete the Evil Dave’s Big Day Out quest to reach Agility Level 38. Once that is done, head to the Northern Anachronia Agility Course. You can then grind this course until you reach Agility Level 50. Afterward, go to the Southern Anachronia Agility Course and only run that one to gain two more levels. Once you reach level 52, head to the Wilderness Agility Course and stay there until reaching Agility Level 65. Finally, head to the Het’s Oasis Agility Course to reach Agility Level 73.
Divination Level 75
For leveling your Divination, you’ll have to find Wisps and absorb their power before turning that power into memories. If you can, get Diviner’s Outfit from Guthixian Caches to increase your experience gain. For the first ten Divination Levels, you’ll want to harvest Pale Wisps. These are found at a colony near the southeast border of Draynor Village. For the following ten levels, you can move on to Flickering Wisps. These have a colony to the east of the lodestone for Falador.
To go from level 20 to 30, you should harvest Bright Wisps. Don’t worry about the Mah Wisp enemies or anything like that. These have a colony just east of the Varrock lodestone, near the mine to the city’s south. To reach level 40, you need to go to the Glowing Wisp colony south of the Seers’ Village. When you’re ready to grind from level 40 to 50, you’ll look for Sparkling Wisps. There is a Sparkling Wisp colony southwest of the Remennik Slayer Dungeon.
For your following ten levels head to the center of the Karamja Jungle to the Gleaming Wisp colony. Once you reach level 60, go to the Vibrant Wisp colony northwest of the southern Feldip Hills. Finally, to get your last five levels, go to the Lustrous Wisp colony east of the Slayer Tower.
Slayer Level 76
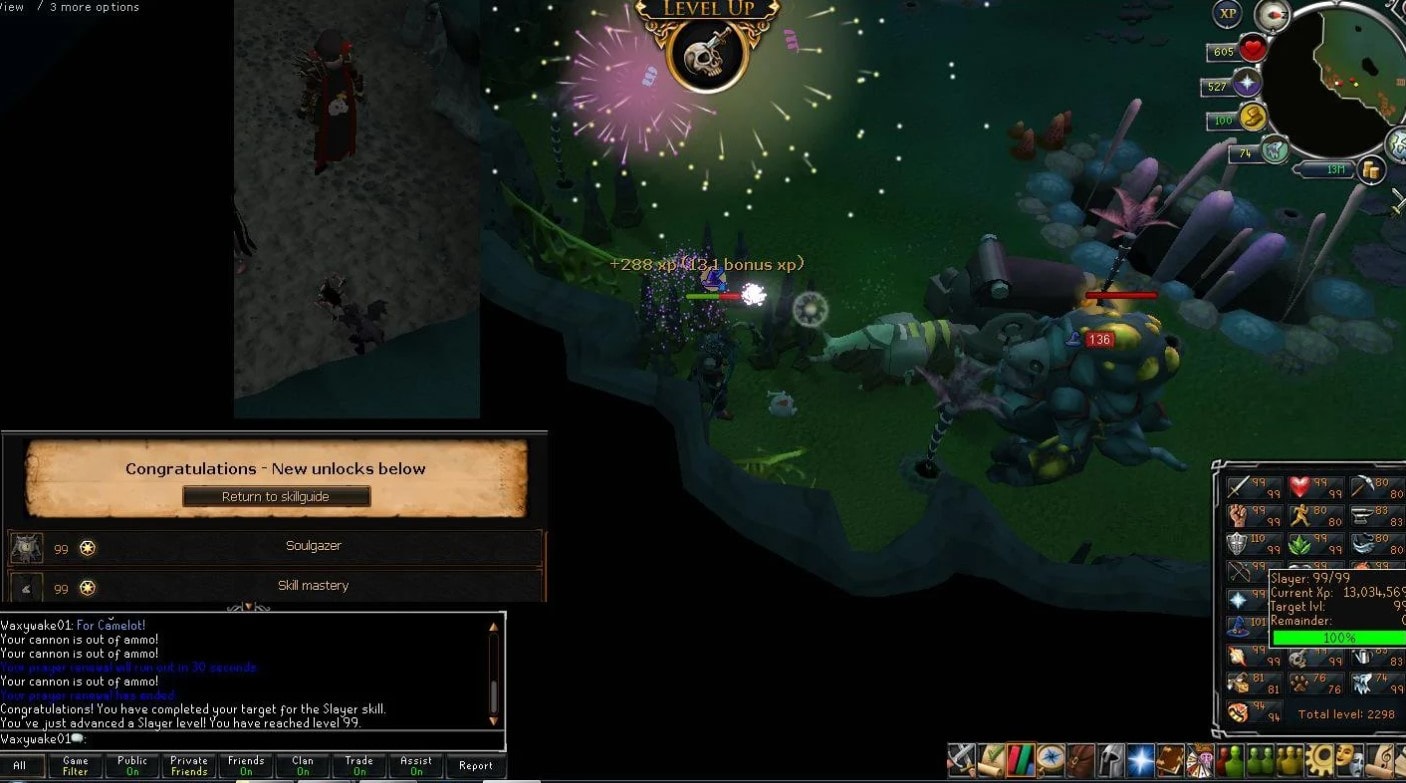
To raise your Slayer Level, you’ll need to complete many Slayer assignments. While grinding your Slayer skill, you should just take the highest level of assignment available to you to get the most experience possible.
Magic Level 79
The key to training magic as fast as possible is to kill enemies that have weaknesses in certain elements. To get to level 35, the best option is to kill Troll Brutes since you should be able to one-hit them. Then, kill Ice Warriors until you reach level 40. To go from level 40 to 50, kill Crocodiles, and to go from 50 to 79, kill Ogres.
Fate of the Gods Walkthrough
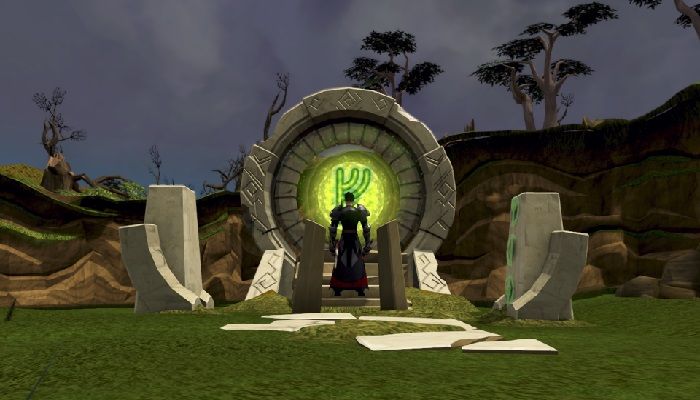
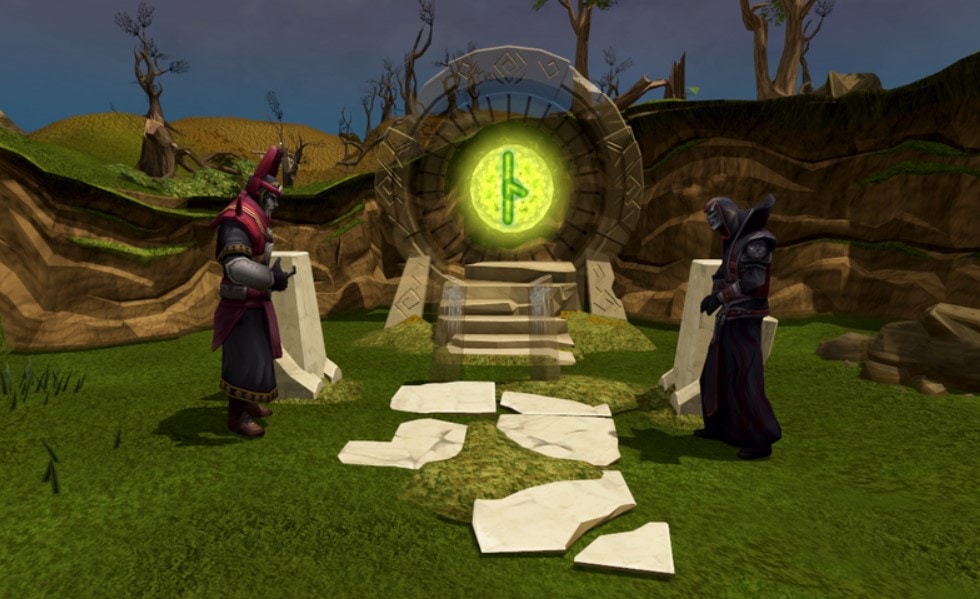
The World Gate
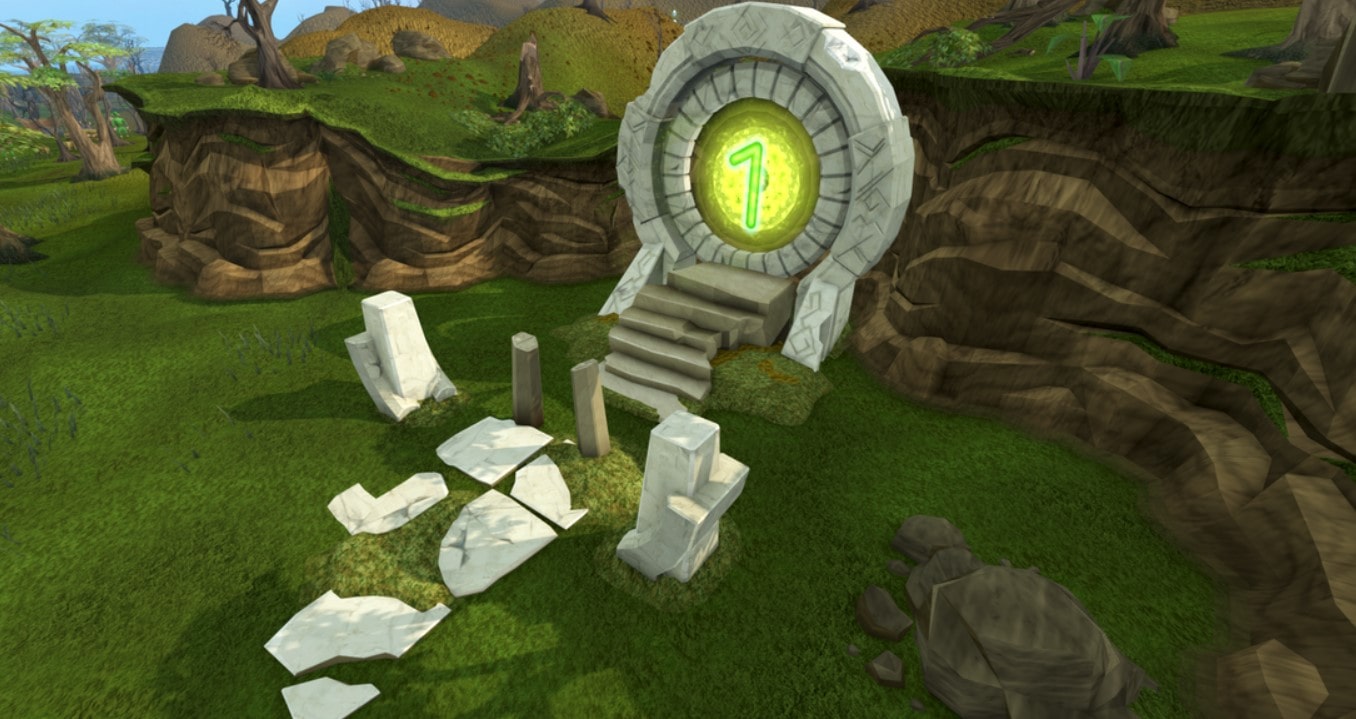
To start the Fate of the Gods quest, you’ll have to head south of the Eagle’s Peak lodestone and talk to Azzanadra. He will inform you that the recent death of Guthix means that the gods that once ruled over the land will be able to return anew. He then tells you that there is only one thing in their way, the god Zaros. After you accept the quest, you’ll have to talk to him again, after which he’ll fill you in on various lore details about the World Gate.
After talking with Azzanadra, Sliske will pull you into the Shadow Realm and tell you that the World Gate is broken but that they are willing to help you fix it. In return, he only asks that you consider every option when dealing with Zaros in the Shadow Realm. He will then tell you that the World Gate is sealed with a combination. To put in the combination you have to interact with the controls in front of the World Gate in the Shadow Realm to spin three symbols. The one that looks like a pitchfork needs to be spun to point toward M. The vertical line with one branch to the left needs to be spun to point toward A. Finally, the third symbol, which looks like a stick with an “X” on it, has to be spun to point toward H. Once that is done, you will talk to Azzanadra briefly before walking through the gate.
The Dangers of Freneskae
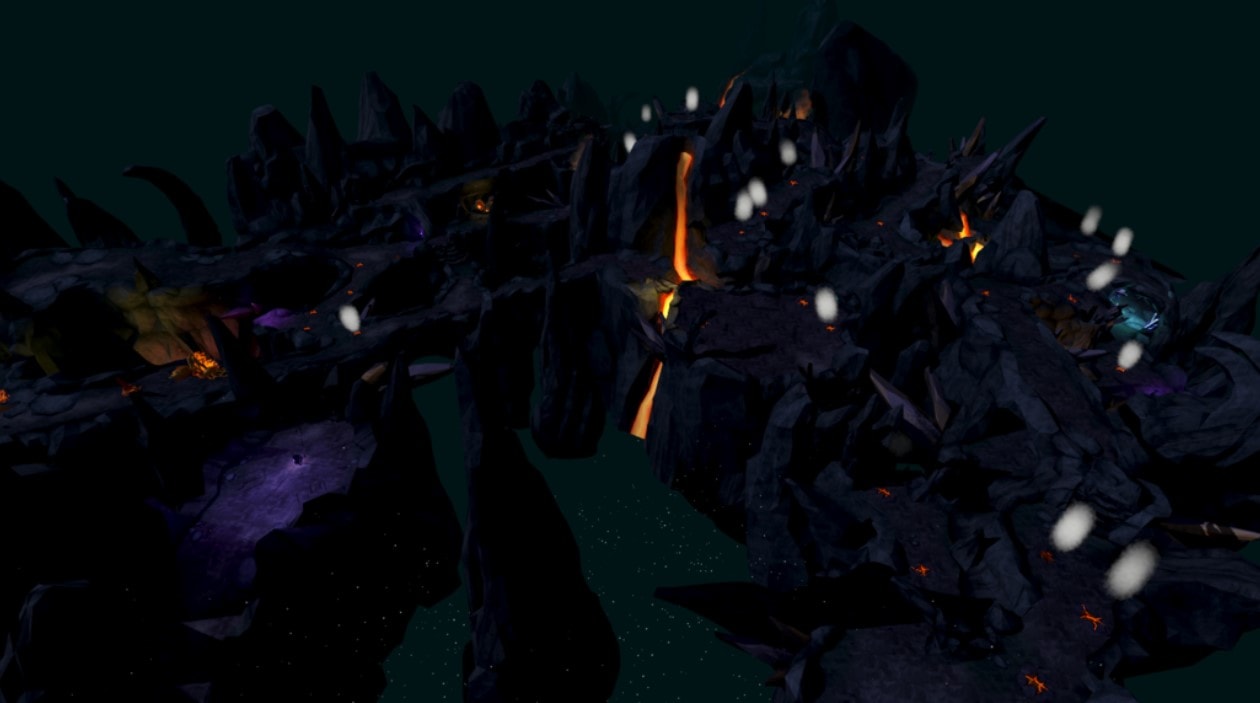
You will need to move exceptionally quickly while in Freneskae because you will take constant damage from the smoke and heat. So, I recommend reading through this section before you go through the World Gate to prepare yourself and bring plenty of food to help you heal. You can also take damage from random lightning strikes denoted by flickering on the ground, so keep an eye out for them, and you should be able to avoid lightning with relative ease. There are also volcanic vents that shoot out lava if stepped on, and walls leak lava if you get too close, so keep an eye out for all of that.
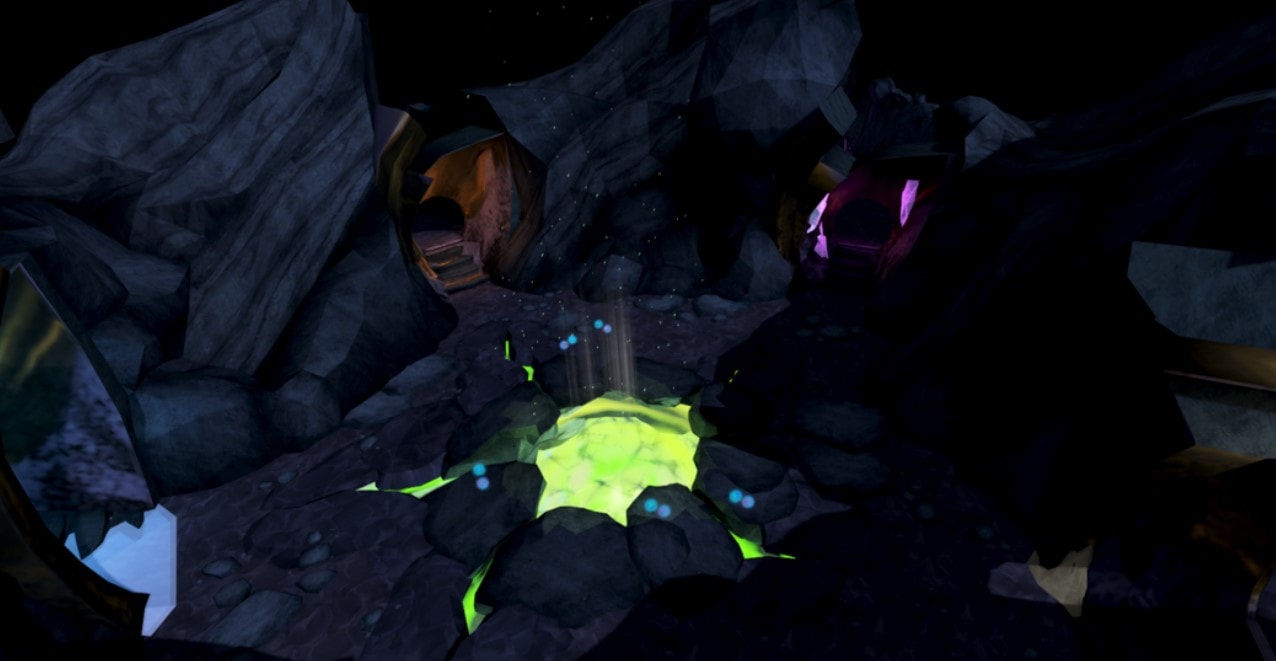
Now, your main goal in Freneskae is to survive and make it through, but you can also collect Memoriam Crystals if you want to get glimpses of the past that will influence your final decision of what to do with Zaros. If you bring enough food, you can take your time exploring this area to find Zaros’ Sanctum and these elder halls (not to be confused with the also excellent Elden Ring), but there is an optimal path that you can follow. This is:
- Follow the northern path to the end to get the first Memoriam Crystal.
- Go east from where you spawned and go over the two ledges there.
- Follow the southern branch and climb across the cliffside.
- Grab a second Memoriam Crystal and then drop it down.
- Head south to grab yet another Memoriam Crystal, this one hidden in a pile of rocks.
- If you need to heal at all, head east, and you’ll find a spot to recover back to full.
- After healing, continue east and cross the stepping stones that head west.
- Climb up the cliffside on the other side of the stepping stones.
- Go back east and climb down to get another Memoriam Crystal before climbing down again to return to the first healing point.
- Head back the way you did before, and after you cross the stepping stones go north and cross until you can climb down the cliff facing east.
- Head north to grab another Memoriam Crystal before going southwest and sliding down a slope here.
- Keep following that passage, and you’ll find a second healing area.
- Head west and take the center path to find one more Memoriam Crystal.
- Go to the southern wall of the healing area and climb up the cliff there.
- Go across the rocks, go east, and then climb down.
- Head east and cross the rock bridge you come across.
- Enter the Sanctum entrance to complete this sequence.
Zaros’ Sanctum
Once you’re out of the hazardous areas of Freneskae, you’ll find yourself in the sanctum of Zaros. If you are collecting the Memoriam Crystals, head to the northwest corner of the site to find another one. In the middle of the room, you can also deposit all of the Memoriam Crystals that you’ve collected thus far to see the memories they hold. From there, head to the end of the room to find a door covered in symbols. The symbols are part of a puzzle you’ll have to complete three times by spinning rings with the characters on them to line up identical symbols. Once you finish the puzzle three times, you’ll be able to go through the door to another room beyond it.
Once you enter the next room, walk to the center of it, where you’ll find a mysterious entity. This will cause four enemies known as nihils to show up and attack you. You cannot leave once they spawn, so you’ll have to fight until you or the enemies die. Each nihil has a different attack style, but they don’t have any weaknesses, so use whatever combat approach you prefer.
Once you’ve killed the nihil, you can go through another door straight ahead. Go through it and climb the cliff behind it to find yourself on the top of a volcano. There you will see a person slumbering. Try to climb down the cliff next to them, and the mysterious entity from before will appear and reveal itself to be Zaros. Zaros then explains to you that the sleeping person is an Elder God by the name of Mah. He then teleports you to your mind threshold to talk to you without waking up Mah.
You will have the opportunity to ask Zaros about a range of topics before he tells you that he needs you to make him a body out of Mah’s energy. To do so, you’ll have to go to the Halls of the Elders at the bottom of the volcano, but before then, you need to defend Mah from nightmares that will attack him when you return from your mind threshold. Zaros offers to help you by entering your body to strengthen you. You can choose whether or not to let him, but if you say yes, you will have unlimited prayer points and runes to cast curses and spells.
Once you get back to the volcano, you have to approach Mah to start the nightmare and defend Mah against Muspahs. To pass this section, you have to survive for a certain amount of time, which is tracked in a bar displayed at the top of the screen. You should use prayers and food to maximize your survivability. If you try to do it without Zaros’ help and die, you can talk to Zaros again to let him in for the buffs he provides.
Once you’re done with the nightmare, Zaros will appear to again tell you that he needs you to travel to the Halls of the Elders to create him a body. He says that you also will have to make him either a Dark Simulacrum to let him return to the world, or the Light Simulacrum will prevent him from doing so. Zaros will then offer to join you again, but letting him do so only adds dialogue lines this time.
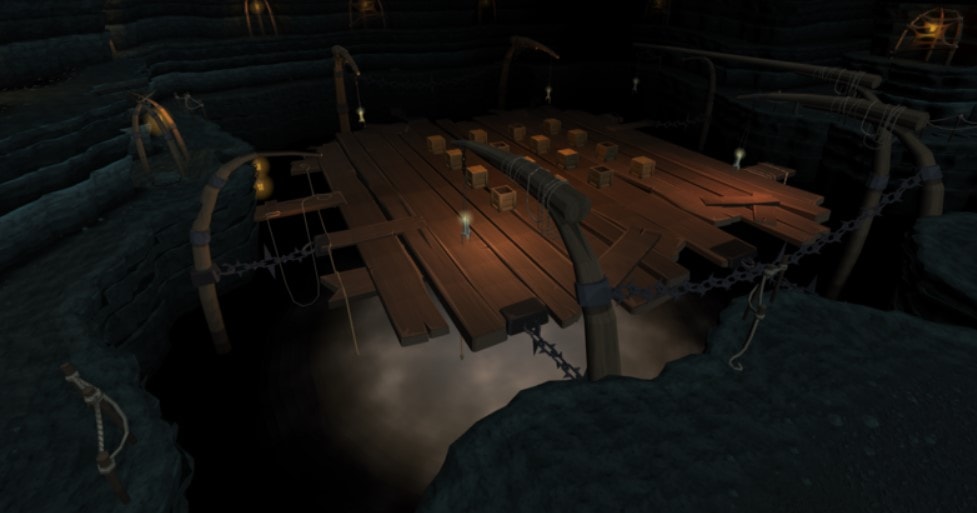
Halls of the Elders
After talking to Zaros, climb down the ledge directly across from where you first entered the top of the volcano. You will find yourself in an open area with Mah Wisps. Walk over and pick up the Elder Artefact called The Measure. Once you pick this up, you’ll be able to see Mah Wisps and siphon them for their energy. You’ll have to then gather 250 Mah Energy so that you can create one of the simulacra. Create either the Dark Simulacrum or Light Simulacrum, and then climb back up to the cliff to return to Zaros.
You can give Zaros either one of the simulacra, and he’ll be forced to accept it regardless of the outcome. He’ll voice his disappointment if you give him the Light Simulacrum, but that is it. Either way, his appearance will permanently change, and there is no way to reverse your decision. Once you’ve given Zaros your chosen Simulacrum, he will make his new body, and you’ll have to talk to him one last time. Once that is done, he will teleport you and him to the World Gate, which you must pass through to return to Gielinor.
On the other side of the World Gate, you’ll find Azzanadra waiting for you. He will summon Char and Nex after noticing you, and you’ll be back in your mind threshold. You will then have to sit through a scene of the gods reacting and other plot beats. In the end, regardless of what you decide to do with Zaros, he will reward you with items, and the quest will wrap up.
Fate of the Gods Rewards
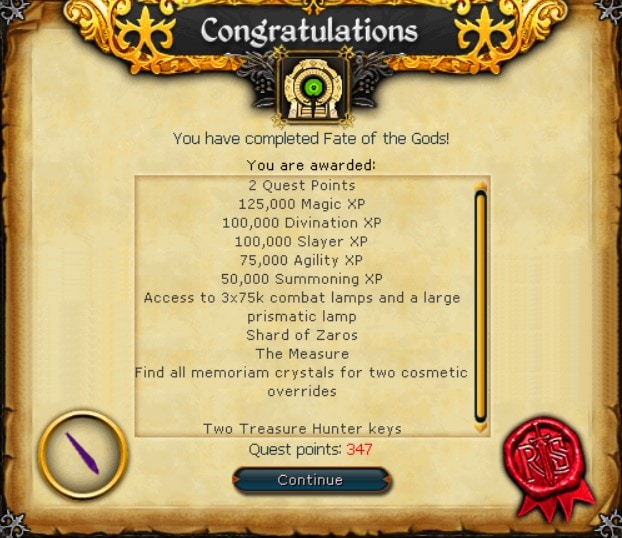
For essential rewards, you’ll get two Quest Points and two Treasure Hunter Keys for some randomized items. You’ll also get a ton of experience for the skills associated with the quest, including 125,000 Magic experience, 100,000 Divination experience, 100,000 Slayer experience, 75,000 Agility experience, and 50,000 Summoning experience. You’ll also be given the unique item called Shard of Zaros. This item will allow you to talk to Zaros no matter where you are and will provide you with protection from factions in the God Wars Dungeon.
After finishing this quest, you’ll also be able to travel back to Freneskae using the World Gate, and if you also complete the Ritual of the Mahjarrat quest, you can access Rune Dragons. It is important to note, however, that you can also do a little bit more to get some other rewards. If you’ve also finished the quest The Temple of Senntisten, you can talk to Azzanadra in Senntisten Temple three times to get a Survivor’s Lamp. You can also get a Large Prismatic Lamp from Wahisietel if you finish the Ritual of the Mahjarrat quest.
If you kill all four Nihil at once, you can unlock the unique title “The Annihilator” and even do that after completing the quest and going back through the World Gate. You can also return to Freneskae to collect all of the Memoriam Crystals to unlock the Helm of Zaros and Crest of Seren cosmetic head items. Finally, you can also take The Measure to different areas to get a 50,000 Divination experience by placing it outside the entrance of TzHaar City, the Submerged Statue, the Oracle in Ice Mountain, and the archaeologist camp at the top of the Ruins of Ullek.
FAQs
Question: What difficulty is the Fate of the Gods quest?
Answer: The quest is rated as Grandmaster difficulty, one of the highest in all of Runescape.
Question: Is Zaros good or evil?
Answer: Zaros is neither good nor evil as he focuses more on carrying out law and order, which is more objective than morality. However, his followers have ranged wildly throughout the moral spectrum.
Question: Is Zaros considered an Elder God?
Answer: No, Zaros is not an Elder God. However, during the Fate of the Gods quest, he reveals to the player that he was created by the Elder God known as Mah.
Conclusion
The Fate of the Gods quest is a significant one when it comes to the ongoing storyline of Runescape. It also comes with some mighty rewards unique to players who successfully complete the quest. However, the quest is also quite challenging, so if you’re a completionist hoping to get all of the achievements and pieces of the quest wrapped up, you might have to try a couple of times. Either way, the quest is well worth doing at least once if you have the stats to do so.
This article was updated on 10/03/2022 by the Rune Fanatics editorial team. Our goal at Rune Fanatics is to provide the most up-to-date relevant quest information, walkthroughs, and tips. We updated some of the article text to give you better quest information.
- Zulrah Guide - October 22, 2022
- Tempoross OSRS Guide - October 15, 2022
- Calisto OSRS Guide - October 15, 2022