

The Desperate Times quest was first added to Runescape in May 2019 after numerous teases piqued the community’s interest. It’s part of the Elder Gods quest series, one of the most epic in the game, and tells a sprawling and exciting story across a handful of quests. Desperate Times is my favorite of the entire quest series because of its exciting moments and fun plotlines. It is also fully voiced, which helps make its best moments stand out even more.
Key Info Up Front
- Members Only: Yes
- Official Difficulty: Intermediate
- Official Length: Medium
- Skill Requirements: Mining Level 50, Smithing Level 50, Divination Level 50
- Quest Requirements: The Needle Skips, You Are It
- Items Required: 3 Rune Bars, 2 Runite Stone Spirits, 10 Mind Runes, 10 Gleaming Energy, Old Necklace, Armor to get into Black knights’ Fortress.
Desperate Times Overview

Since this quest is ranked as Intermediate difficulty officially, you shouldn’t expect it to be overly challenging. However, you will need to be able to kill level 50 enemies, and you’ll need pretty solid Mining, Smithing, and Divination levels of at least 50. The quest’s length is only Medium, giving it plenty of time to deliver some exciting plot points without being too slow. So, you should be able to get through the quest quickly enough before moving on with the remainder of the quest series.
You have to complete two previous quests before starting this one: The Needle Skips and You Are It. However, if you care about Runescape‘s story, I also recommend finishing some other quests. This will ensure you have the context to understand everything discussed or referenced throughout the quest. The unnecessary quests I recommend finishing first are:
- The Death of Chivalry
- Children of Mah
- Hero’s Welcome
- Kindred Spirits
- Nomad’s Elegy
- One of a Kind
- Impressing the Locals
Required Skills for Desperate Times
So, if you want to go through this quest but don’t quite have your skills high enough, it will likely be easiest if you grind for them for a short while. Luckily, there are only three skills that you may have to grind for. The best ways to grind each one are below.
Mining and Smithing Level 50
If you don’t have any levels in Mining and Smithing, you’ll be able to level them both up simultaneously. You’ll have to start with mining Copper and Tin and smelting them together to make Bronze gear until you reach level ten in both. The best place to do this is in the Burthorpe Mine by the starting area. The mine is free of enemies, and there is a forge and anvil right outside for you to smelt the bars and make items out of them. You can then sell the products to the crafting trainer nearby, making the entire process easy.
Once you reach level 20 in both skills, you’ll want to upgrade to making Steel. To do so, you have to mix one coal ore with one iron ore, and coal ore is not present in the Burthorpe Mines. However, there is a mine to the south, just west of Falador, with coal in it. To reduce travel time, I highly recommend building more boxes as you progress through the materials. Making one only takes a few bars of the material and can be used to store raw ores before taking them to a furnace. This will drastically reduce the time you spend traveling from here on out.
After you reach level 30 in Mining and Smithing, you’ll be ready to jump up to Mithril ore. Mithril Ore is most easily mined at the two mining sites to the south of Varrock, and you can then combine that with the coal from the Falador mining site to make Mithril ingots and start making better gear. You’ll do this until you reach level 40 in each skill, at which point you’ll be ready to jump to Adamantite. For Adamantite, continue the same process as Mithril, but go to the Varrock mine to the city’s southeast to find the Adamantite rocks. This will then take both of your skills up to level 50.
Divination Level 50

Now, if you need to level up your Divination, you’ll find the skill to be stranger than mining or smithing. The skill is focused on drawing energy from memories, and wisps found worldwide, which is a bit more abstract a concept. To start leveling it, you’ll need to find Pale Wisps. You’ll be able to draw energy from them and convert it into memories until you reach Divination Level 10.
You’ll then want to move on to Flickering Wisps, which is essentially the same process. The best place to find a Flickering Wisp spawn is to the east of the lodestone by Falador. Converting energy into memories from them will get you to level 20, after which you’ll be ready to move on to Bright Wisps. Bright Wisps are to the east of the Varrock lodestone near the mine with the Adamantite referenced above. You’ll then stay there until you reach level 30.
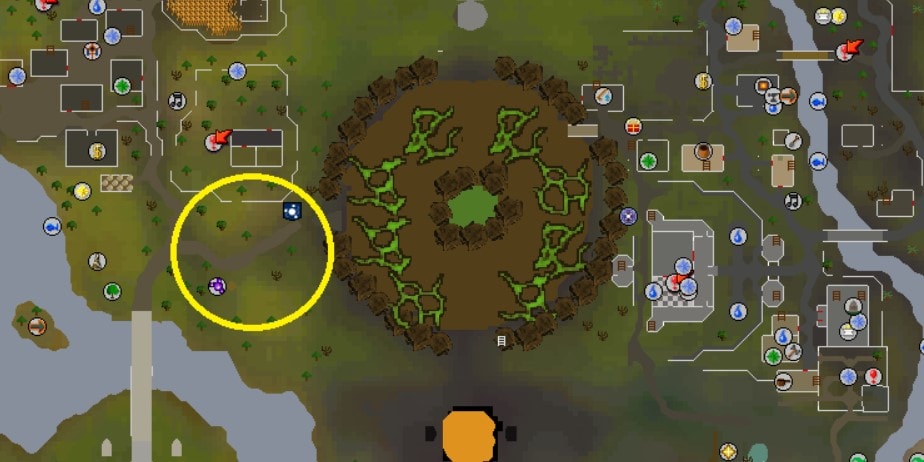
Divination Level 30 will unlock the ability to gather power and memories from Glowing Wisps. You can find a colony of them to harvest from to the south of the Seers’ Village and east of the Sorcerer’s Tower. Harvest those for a while, and you’ll find yourself reaching level 40. Once you do, you’ll be harvesting from Sparkling Wisps until you reach level 50 for this quest. Sparkling Wisps can be found at their colony southwest of the Fremennik Slayer Dungeon. If you have access to the fairy rings, you can teleport nearby using the code AJR.
Required Items for Desperate Times
You’ll also need to gather a small list of items to complete this quest. I recommend using this section of the guide to collect the items that you’ll need before even starting Desperate Times, as this will allow you to go through the quest and maintain its pacing throughout. The things that you’ll need and how to get them are below.
Rune Bar

Quantity Needed: 3
Rune Bars are made with your Mining and Smithing levels. To make one, you must smelt a Runite Ore with a Luminite Ore at a furnace. To get your hands on some Runite, you can head to a few different mines. However, I recommend going to Crandor Mine or the Mining Guild if you have Mining Level 60. For the Luminite, head to either the Abandoned Mine or the Dwarven Luminite Mine.
Runite Stone Spirit
Quantity Needed: 2
Runite Stone Spirits are usually used to speed up how fast you can gather Runite Ore, but for this quest, you’ll need two for another reason. These have a chance to drop while you mine Runite Ore, so there is a chance that you will get both of the ones you need while making the Rune Bars for this quest if you get lucky. If you don’t, you can either purchase them off the Grand Exchange or grind killing Abominations to try and get one to drop.
Mind Rune
Quantity Needed: 10
If you have a magic-focused character, you will undoubtedly have plenty of Mind Runs. If you need to get some for this quest, however, you can craft your own using the Runemaking skill, or you can buy them. They can be bought for 17 gold pieces from stores like Ali’s Discount Wares in Al Kharid or Aubury’s Rune Shop in Varrock.
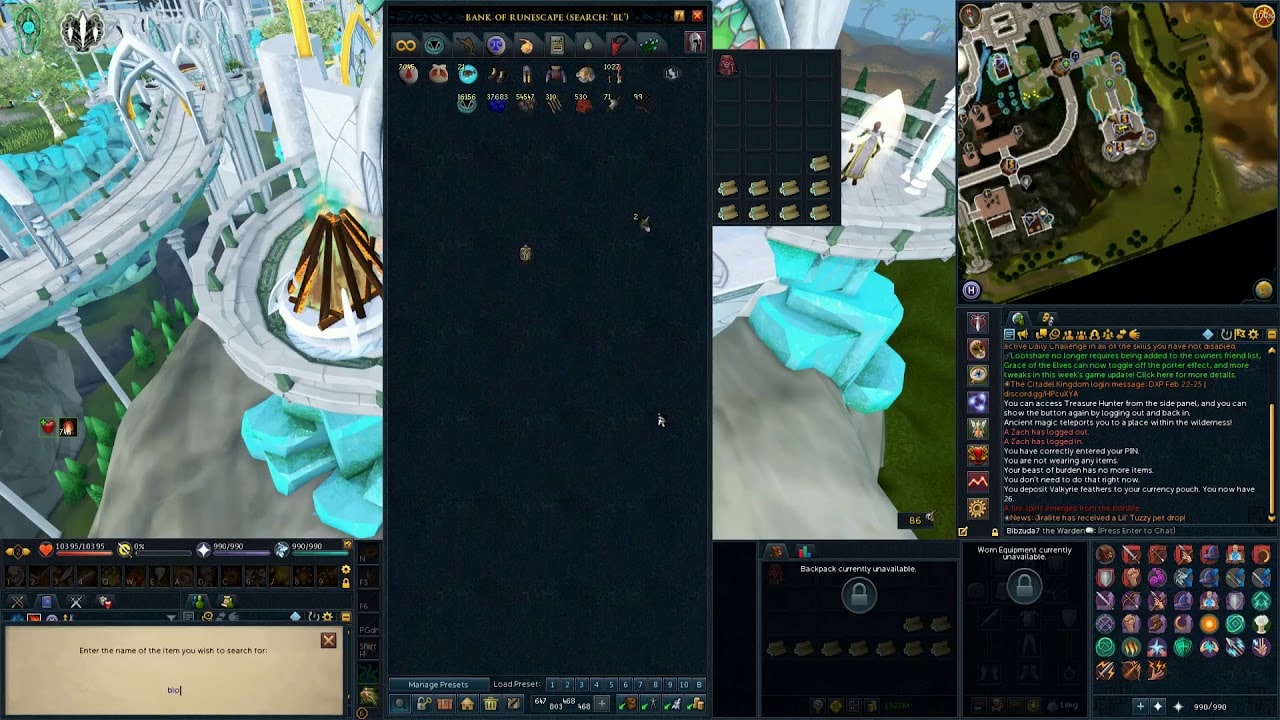
Gleaming Energy
Quantity Needed: 10
You’ll need to gather your Gleaming Energy for this quest, which is why you need Divination Level 50. To gather it, you’ll need to find Gleaming Wisps, which have a colony in Karamja. The colony itself is near the Nature Altar.
Old Necklace

Quantity Needed: 1
The Old Necklace is a unique item for players during the You Are It quest. Since you should have already done that quest before attempting Desperate Times, you should have this necklace already. If you lost it, you could get another by digging in the Lumbridge Cemetery with a Spade.
Black Knights’ Fortress Equipment

Quantity Needed: 1
Numerous sets of gear will let you travel throughout the Black Knights’ Fortress without constantly being attacked. Any armor set with black in the name will work well, so if you have any of those, feel free to use them. If you don’t, the most accessible armor set to use is a simple Bronze Medium helm and Iron Chainbody.
Desperate Times Walkthrough
Getting Things Started

Required Items: None
To start the quest, you’ll need to travel to Burthorpe Castle and talk to Seren on the second floor. Seren will explain that she is forming a council to deal with the threat of Elder Gods that view the people living in Gielinor as insignificant and a food source. She also lets you in on her plan to showcase the value of their lives as she was in earlier quests. To help, you’re asked to find a place to attempt the project, a task force to carry it out, and a collection of seeds.
You should pick where to hold the event first, which you can pick by talking to a different council member. Your options are below:
- Zarador – Feldip Hunting Grounds
- Osman – Northern Desert
- Vanescula Drakan – Morytania
Talk with whichever you prefer, and you’ll also have some options. These are:
- Brundt the Chieftain – Fremennik soldiers
- Moia – Undead army
- Sir Amik Varze – White Knight force
Finally, you need to select your seeds by talking to either Azzandra, King Roald, or Garlandia. Once you have a combination of an approach, you’ll be asked to confirm it before proposing it to the rest of the council. Regardless of which options you choose, your proposal will be rejected for various reasons. You’ll then have to try again, and it will again be rejected. Even after a third time, your suggestion will be rejected.
This causes Kerapac to claim that Seren’s plan is flawed and has no chance of succeeding. Instead, he suggests gathering Elder Artefacts to perform a powerful ritual capable of forcing the Elder Gods to sleep forever. This plan wins over almost the entire council, and you are tasked with going to the Needle with Thok to start preparing.
Communing With the Needle
Required Items: None
Once you arrive at the Needle, you’ll need to talk to Kerapac. He then tells you he can charge the Needle to commune with it and learn from its information. However, this will cause five Temporal Instabilities to spawn in the nearby area, which you’ll have seal. You can find one of these rights by the Needle, two more over in front of the farmhouse, and two more inside of the farmhouse upstairs.
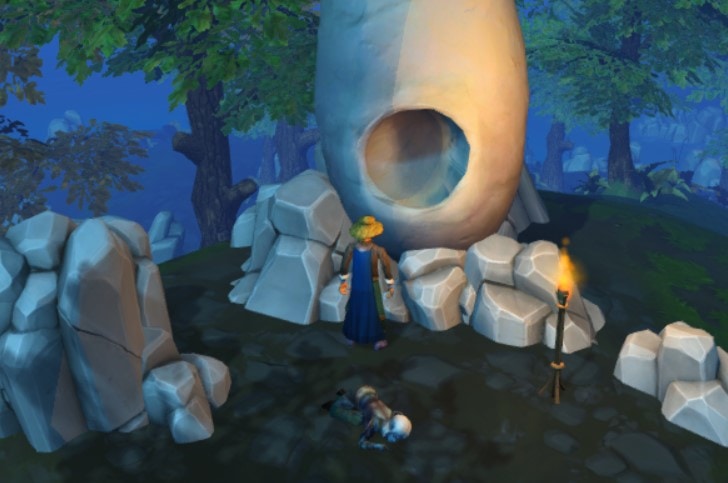
After you’ve closed all five Temporal Instabilities, you need to walk back to Kerapac and talk to him. He informs you that the Needle’s mind has refused his inquiries and that he will need the help of a mage known as Charos to influence its mind into helping. So, you are then sent to McGrubor’s Wood, where Charos’ Tomb is. To get there quickly, use the home teleport to get to the Seers’ Village lodestone and run the rest of the way.
Once you make it into the tomb, interact with the coffin there to get a letter written by Charos. The letter will state that he is aware of your attempts and gives you a challenge you have to complete to meet him. The challenge revolves around collecting three keys hidden in areas pointed to by a riddle included in the letter. These keys will then allow you to power his Old Necklace.
Hunting for the First Key
Required Items: None
The first riddle reads: “Once there was a throne on which the emperor barely sat. It fell beneath the soil and vanished. But what was buried can rise again. I see what has been buried and how to raise it.” This points you to the Varrock Dig Site. Head there and step into the portal near Celia Diggory to enter the first puzzle room. Be warned that they will be reset if you log out or exit the menu in any of the quest’s puzzle rooms.
This particular puzzle room has a sliding puzzle in its main chamber and is ringed with smaller rooms holding a chest. However, the outside rooms are each locked, and the only way to open the doors is to step on a corresponding colored portal on the floor. So, walk around on the colored outlets until the entry you want to open is unlocked. Once it is opened, you’ll have to head inside and complete a small puzzle. You’ll get a four-letter code to unlock the chest if you complete the riddle. The different riddles and their solutions are:
| Room’s Contents | Puzzle Solution |
| Recipe Note | Interact with the recipe note to see a list of ingredients. Two possible solutions depend on how the puzzle is generated for you. If the measurements for each ingredient are equal to a single roman numeral, the code is the roman numerals in order. If not, the code will be the first letter of each ingredient in order. |
| Four Items | The code will be the first letter of the four objects on the floor in the room. For order, start with the object furthest from the chest and then progress through them, heading toward the chest. |
| Piles of Coins | Start at the pile of coins furthest from the chest and right-click on it to examine it and see how many there are. It will be equal to a roman numeral. Do this for each pile of coins moving toward the chest, and the code will be the roman numerals in that order. |
| Plaque on the Wall Next to the Door | Inspect this plaque to see the symbols for four lodestones on the map. Consult the map to see which lodestones they are associated with. Take the first letter from each location they lead to, which is the combination. |
| Single Item on the Ground | The item on the ground will have at least one four-letter word. The combination for the chest is the four-letter word. |
| A Cleaned Herb | The combination to the chest is Herb. |
| A Single Rune | The combination to the chest is Rune. |
Once you open a chest, you’ll get a word on a three-by-three grid. The word will be associated with one of the tiles in the sliding puzzle in the main area of the puzzle room. After you have all the chests opened, you have to move the tiles to match the words diagram. Once you get it properly arranged, you’ll receive the first key.
Hunting for the Second Key
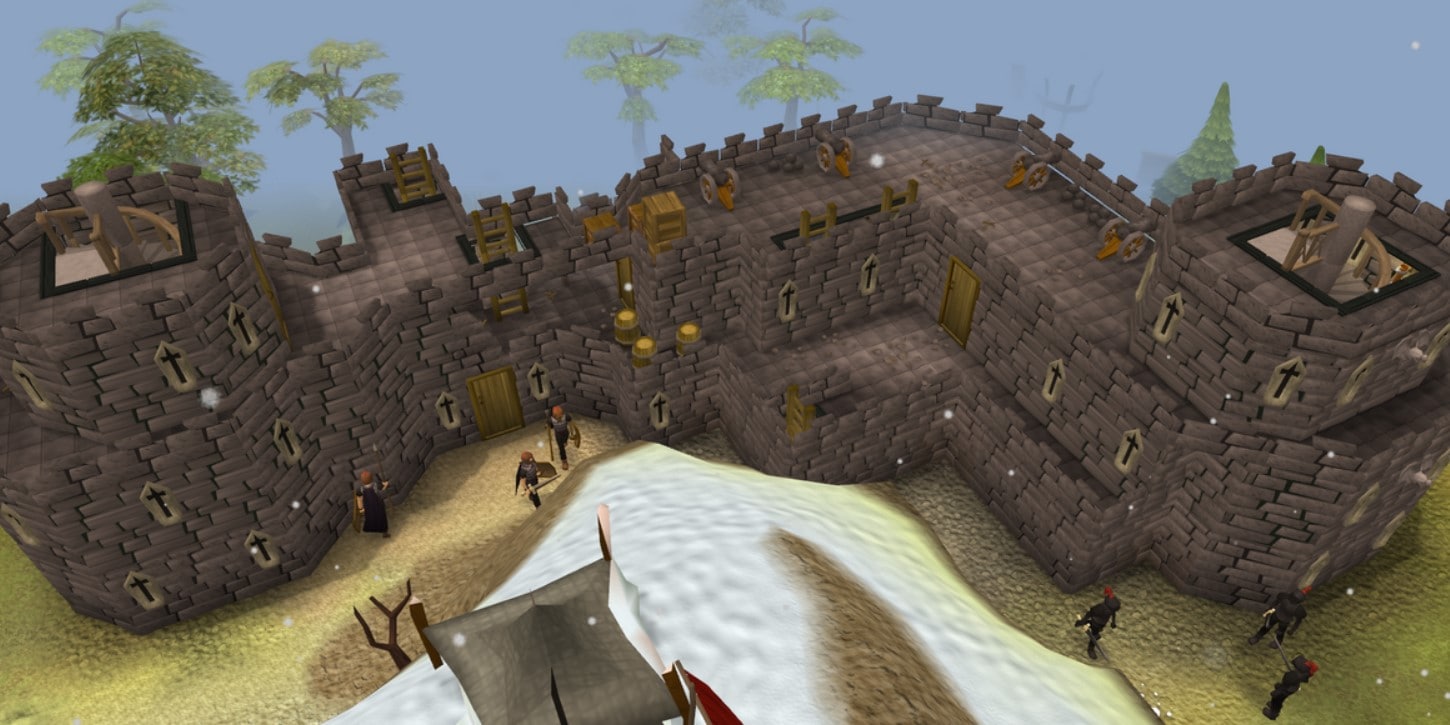
Items Required: Armor to get into Black Knights’ Fortress
The riddle for the second key reads: “We do not need a table round. Nor shields of glistening white. As the night are we adorned. In strength and power is our allegiance.” For this key, you’ll find the portal in the Black Knights’ Fortress on the first floor. Go through the portal to get to a second puzzle room, where you must repeat the same process as above.
Hunting for the Third Key

Items Required: None
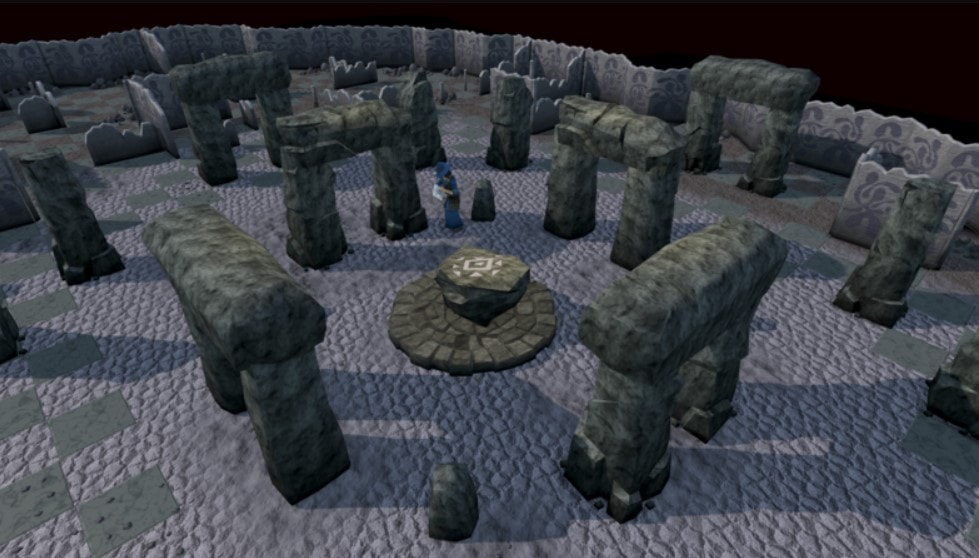
The final riddle reads: “Four warriors stand above the water, staring out at the world. Northwards stands a mighty home. Ascend then to greatness. And rest in comfort’s luxurious embrace.” You should save this puzzle room for last because it takes you to where you will have to go next. You can find the portal on the second floor of Varrock Palace. Go into the portal and complete one last puzzle room.
Once you get all the keys, you’ll get a bloody scroll with “URIT” written on it over and over. The You Are It quest presented a piece of paper like this. After inspecting it, your character will say they think they need to go to the Varrock Library, so head there next.
A Unique Device
Items Required: 3x Rune Bars, 2x Runite Stone Spirits, 10x Mind Runes, 10x Gleaming Energy.
Go to the Varrock Library in the Varrick Palace and talk to Reldo there. Use Charos’ Necklace, and Reldo will be revealed to be Charos himself. Kerapac and Thok will then meet you and discuss what to do next. Kerapac then asks Charos to make a new device to help them talk to the Needle, although Thok will leave because he disagrees with this approach. To get the appliance, Charos will request three Rune Bars, two Runite Stone Spirits, ten Mind Runes, and ten Gleaming Energy, which you need to give him so he can build his device.
The Home Stretch
Items Required: Gear to fight level 50 enemies.
After getting the device, return to the Needle to use the device. After you start, however, your group will be attacked by Gail, and you’ll be sent into the Needle while Kerapac fends them off. After going into the Needle, you’ll find yourself in Guthix’s Cave. Explore the cave, and you’ll be attacked by Sliske five times. Defeat him each time and pick up the Broken Mask Shards that he drops. Once you have all five shards, combine them to build Sliske’s Mask and put it on.
Wearing the mask will allow you to see Sliske’s memory of assassinating Guthix. After it is done, head back to the cave entrance and talk to Guthix to trigger another cutscene. You will then be teleported to Naragun. Explore this area and collect five memories until the spirit of Guthix appears, and you’ll have to talk to him again. Afterward, you’ll head back to Guthix’s Cave. While there, you’ll need to interact with each Mutable Anima once.
Next, you will be sent to Empyrean Citadel. Head to the west to enter a room where you’ll find Gielinor. Cross the agility shortcuts by going out of the fish-shaped window in the room and following the path to go back in through another fish-shaped window. Then, exit the door to your north and go through the next sequence of rooms you should recognize from the Missing, Presumed Death quest.
At the end of the procession of rooms, jump over the edge, and you’ll end up in Sliske’s Labyrinth. Explore this room and activate the four mutable animals spread around the area. You will then be taken to Dragonkin Laboratory, where some nodes are orange and frozen. Search the site for Memory Wisps and interact with them to unfreeze the nodes. Once you unfreeze all of them you’ll be treated to another cutscene. After the cutscene, you’ll need to talk to Charos and Primrose, who is Gail in human form, before returning to Burthorpe to report to the council. This will end the quest.
Desperate Times Rewards
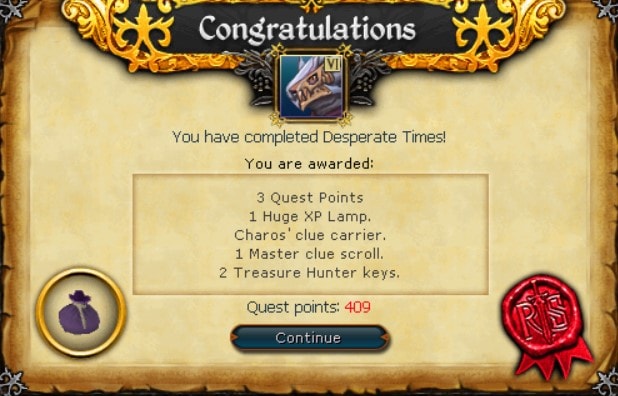
Upon finishing the quest Desperate Times, you will get various rewards. The first of these are three Quest Points and two Treasure Hunter Keys. You will also get one Huge XP Lamp to help you level faster, a Master Clue Scroll, and Charos’ Clue Carrier. The Charos’ Clue Carrier can carry sealed Clue Scrolls in your inventory, which are used in the Treasure Trails activity.
FAQs
Question: Where do you start Desperate Times in Runescape?
Answer: The Desperate Times quest starts with talking to Seren in Burthorpe.
Question: How do you get a new Old Necklace if you lose it in Runescape?
Answer: You can find a new Old Necklace by digging in the Lumbridge Cemetary with a Spade.
Question: What quests need to be finished before Desperate Times?
Answer: Desperate Times is part of the Elder Gods quest line, so you must finish The Needle Skips and You Are It before starting it.
Conclusion
The Elder Gods quest series is an excellent experience in Runescape that any questing fan should check out. Desperate Times is a significant part of the quest line, and its incorporation of slide puzzles and riddles can be a lot of fun to figure out, with or without a guide. So, check out this quest line at some point, and this guide will help you ensure you have everything you need to get through it smoothly.
Here are other interesting readings for you:
- Moss Giant OSRS Guide
- Black Knights Fortress OSRS Guide
- Fossil Island OSRS Guide
- Tears of Guthix OSRS Guide
- Zulrah Guide - October 22, 2022
- Tempoross OSRS Guide - October 15, 2022
- Calisto OSRS Guide - October 15, 2022