

OSRS is a game series that has blessed its player base with content that has grown up with them. Back in 2001, there was still more than enough content to keep the player busy. However, in the present day, OSRS is almost unrecognizable in terms of the content offered. The amount of new characters, bosses, loot, and other assets that have been added to the game to improve the overall experience has been nothing short of tremendous.
However, we would argue that while new items and enemies are great, it’s the quests and storylines that keep the players coming back for more. It’s the ever-expanding lore of Glienor that excites the OSRS fan base. However, with so many quests being offered to players in the current version of the game, it can be a little overwhelming for players to keep throwing themselves blindly into progressively more complex and difficult adventures. Well, that’s where we come in. We have developed a series of guides that will help you finish quests in as quick and easy a fashion as possible.
In this guide, we take a look specifically at the Regicide quest within OSRS, explaining how to get from start to finish, what requirements you’ll need to meet and what rewards await you at the end of this quest. Without further delay, here is our essential OSRS Regicide guide.
What is Regicide in OSRS?
Regicide is a master-level quest in the OSRS franchise. This quest is the fourth in the elf quest series and launched back in September 2004. In this quest, you will be tasked with freeing the people of Tirannwn from King Tyras’ reign of tyranny. This king just so happens to be King Latha’s brother and you will have the rather bleak task of disposing of this tyrannical overlord. However, this task will not be as straightforward as walking through the front door and stabbing him in the belly.
You will be faced with a series of new enemies, some interesting new fauna species and you’ll even encounter a new race. Everything seems like it’s been blown out of proportion by King Latha’s but perhaps there is more to this story than meets the eye.
How Do You Begin This Quest?
This can be started in two ways, the first being that you will be sent for by King Lathas’ messenger. This will happen randomly as you travel through Glienor. However, this is not strictly required as if you talk to King Latha’s you will be able to begin this quest as normal. The messenger merely serves as a prompt. Remember that you must speak to King Latha’s before you proceed through the underground path or you will not be able to access Iban’s Temple.
What are the Requirements for this Quest?
As you would expect from a quest of this level, there are several requirements that you will have to meet before completing this quest. Firstly, you will have to complete three quests in the elf series. These are Underground Pass, Biohazard, and Plague City. After you complete Plague city the dialogue will open up with King Lathas to begin the process.
Then as for the things that you will need to take with you on your journey. Several items are necessary to complete this quest. Here is a quick list of all the items that you will need to bring with you on this journey:
- Anywhere from 10-20 coal
- At least two ropes
- A spade
- Bows and arrows
- A piece of Limestone
- A tinder box
- A strip of cloth
- A mortar and pestle
- Gloves that cover the entire hand
- A pot
- A cooked rabbit
- Plenty of anti poisons and Antidote++
- Weight reducing clothing
- A plank (found on Quest)
- Stamina potions
- Energy potions
- Quality food items (shark)
- Summer Pies x3
- An axe
- Falador Teleport
- West Ardougne teleport
What are the Recommended Stats To Begin Regicide?
Alongside the variety of items that you will need to bring with you on this quest, it is also important to note that you need a strong character build to get through this adventure. However, you may be wondering what stats and skills you need to get through the many hurdles of the Regicide quest. Well, allow us to enlighten you. Here firstly are the base stats that you should have when taking on the Regicide quest:
- HP: 65+
- Attack: 65+
- Strength: 65+
- Defence: 65+
- Magic: 50+
- Ranged: 50+
- Prayer: 43+
The player should also try to have a few other skills. One of which is 10+ mining. This will make gathering the limestone much easier. Then you should also make sure that you have at least 10+ Smithing. This will allow you to create a strip of cloth. Then lastly, you will need to have 56+ agility as this will allow you to push through the dense forest to your next objective. However, this can be boosted if needed.
Regicide: Our Walkthrough
Underground Pass
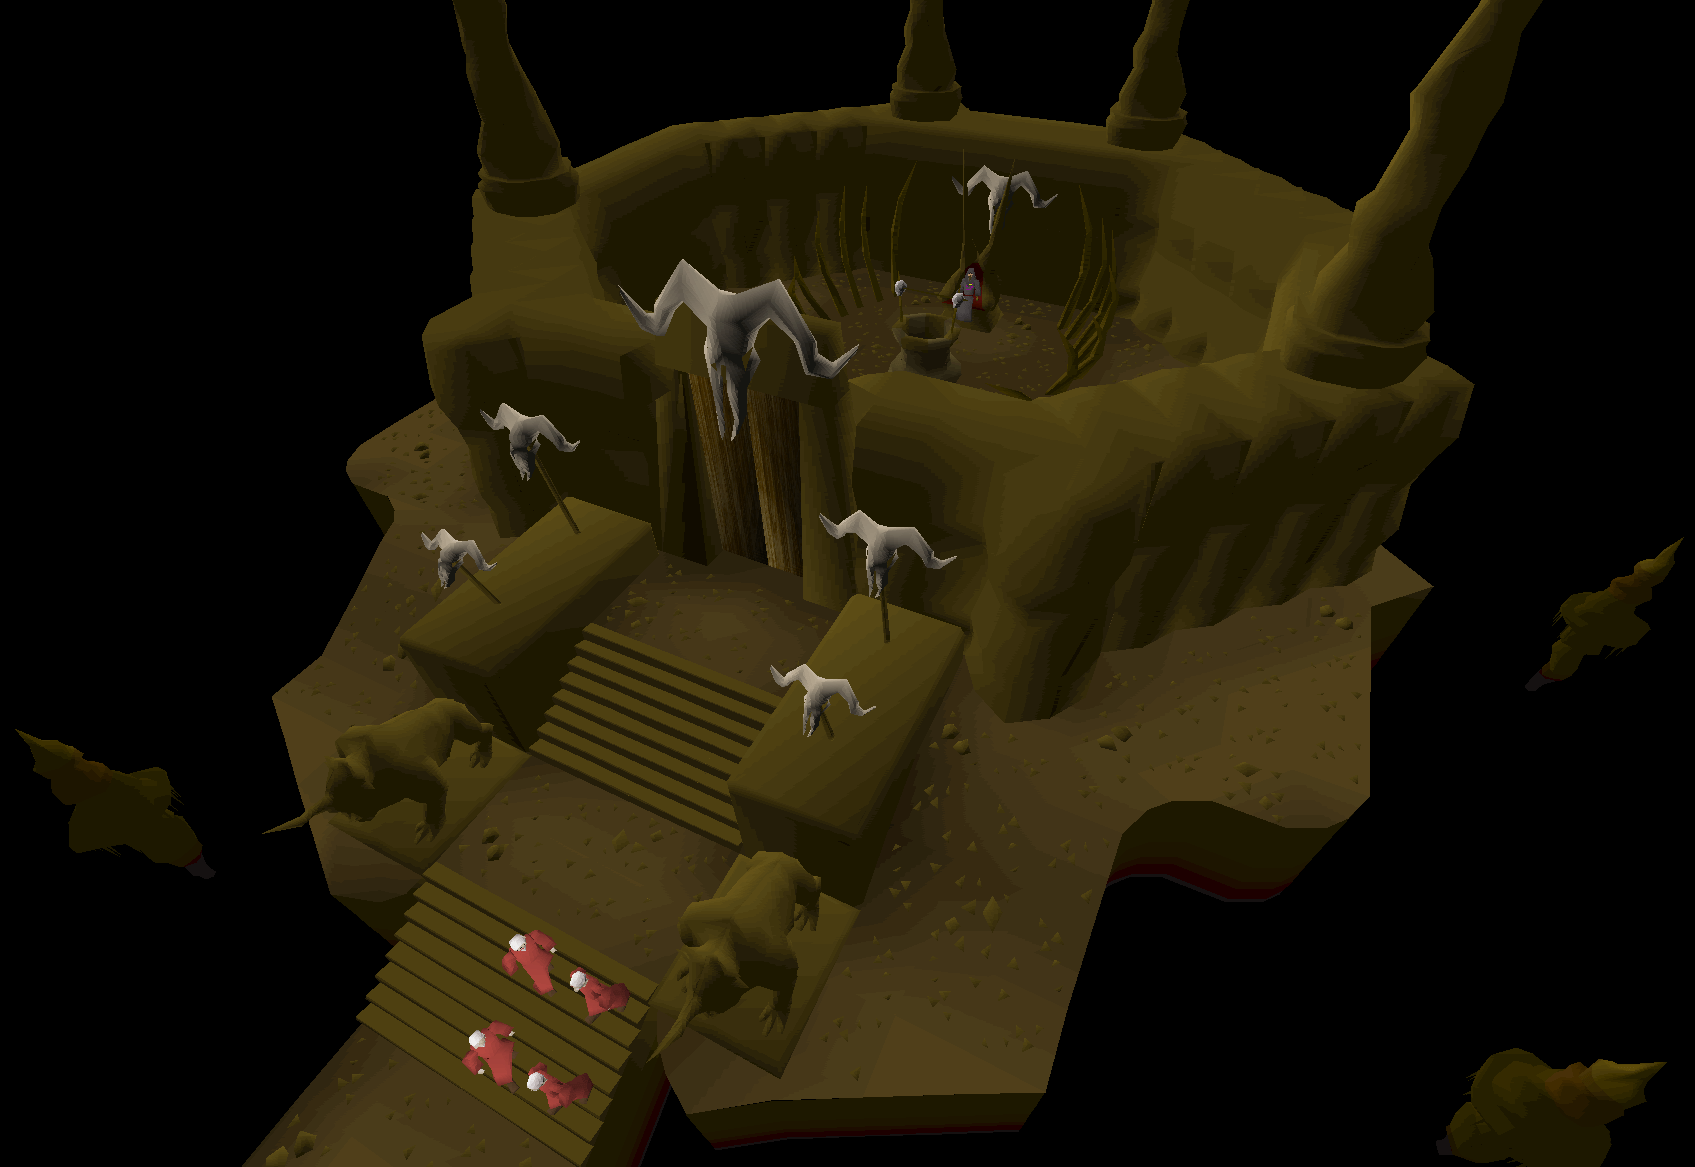
Ok, so let’s get into the meat of this guide. As we said, you will either be approached by the king’s royal messenger or you simply need to talk to King Lathas to begin this quest. He will tell you that you need to meet some of his scouts in the Underground Pass Dungeon. To get through this pass, take the north or south path, avoiding the middle path which is swampy and will only slow you down. You will then reach a bridge which you must shoot with fire arrows to drop allowing you to cross.
Fire at the guide rope and this will drop the bridge. Cross this killing or avoiding the spiders that will attack you. Head southwest and use your rope above the northernmost trench. Continue on going west, south, and then up the rock slide. Once over this, you will be in a room with a grid. This is a puzzle but you should have the solution to this from completing an earlier quest. Travel through as you did before and pull the southern lever. Then, avoiding the zombies, travel through the gate and head west until you see a wall with odd markings. Use this to disable all the traps and then climb down the well.
You will then be in a straightforward area with a clear path. If you have 50+ thieving you can avoid the maze but it’s not a problem if you don’t. Simply use your spade in the first area to dig the mud patch, then navigate the narrow ledge, complete the agility maze if applicable, travel through to the third area, and then slide through the pipe to the south to move to the next area.
You will then find yourself on another linear floor. Simply run past the caged unicorn and zombies and travel until you reach a well, descend to reach Iban’s Lair. If you need to stock up on food at this point, you can speak to Kamen but be sure to decline his brew. Once back where you began head south and take the third walkway. Then travel southeast, you will need to jump over three bridges as you do. Then head into the throne room, down the well, and head west and exit the cave, thus concluding the Underground Pass.
Isafdar
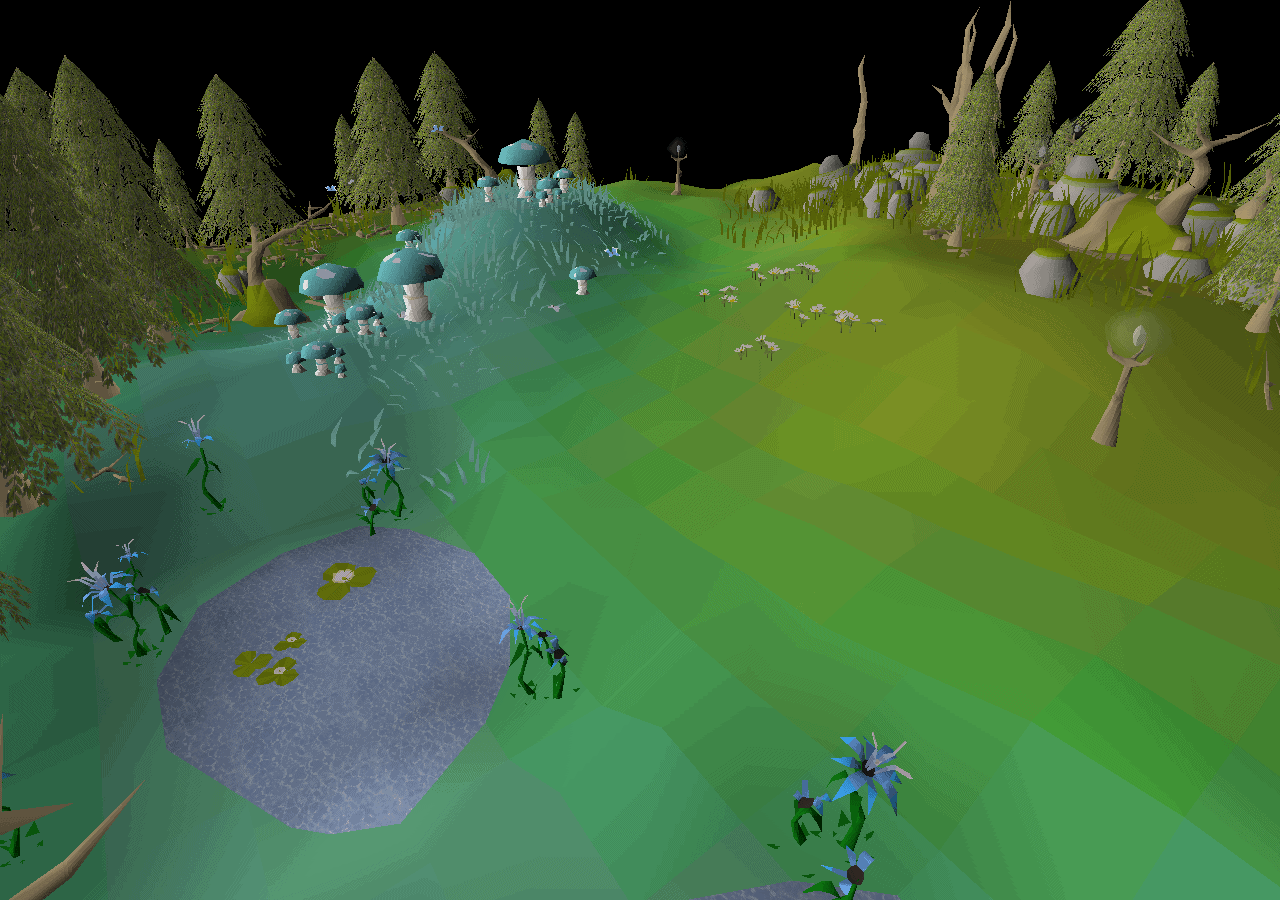
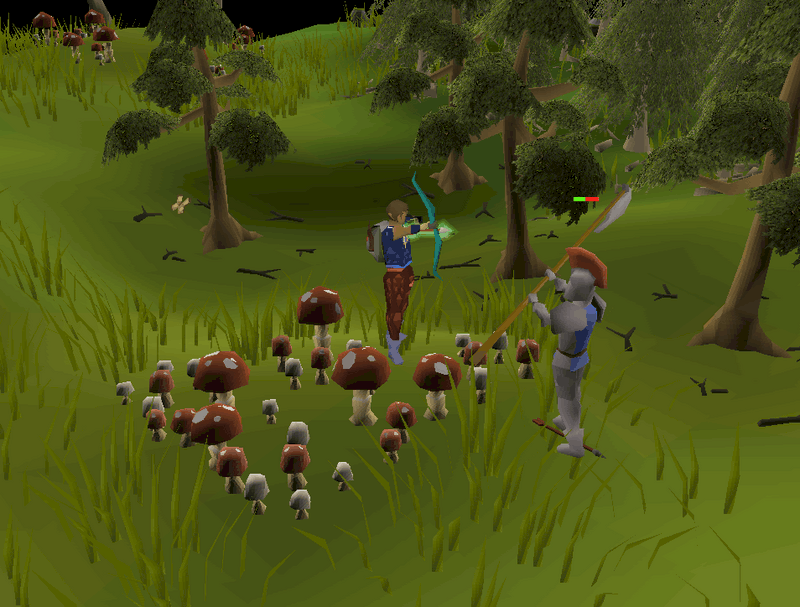
Now you will find yourself in Tirannwn where the bulk of this quest takes place. Begin by walking into the forest slightly, triggering an elf named Idris to confront you. Speak to him and after questioning your reasons for traveling to Tirannwn, he will be killed. His assailants will tell you to go to the camp in the northwest of the forest and talk to Lord Iorwerth. To reach this camp, you will need to use your agility check to get through the dense forest, you will have to navigate leaf traps which can be jumped over if you spot them, you will need to be on the lookout for tripwires and also stick pitfall traps.
Once at the camp, find Lord Iorwerth and speak to him. After you tell him that King Latha’s sent you, he will tell you to speak to the Elf Tracker. He is at a small camp that is due south of the stick trap you encountered on your way to Lord Iorwerth’s camp. When you arrive speak to him. As you are a human he will disregard what you say so return to Lord Iorwerth. He will give you a Crystal Pendant and once you return to the Elf Tracker, he will send you off to find Tyra’s Camp.
You will be able to follow the footprints to the west of the camp after you talk to the tracker as they will give you the ability to climb through the thick forest. Once you follow these tracks you will eventually be attacked by a combat level 110 Tyra’s Guard. You can safely spot this enemy or you can protect with melee prayers and while this enemy does have a Halberd, they don’t have a two square attack range so the fight is pretty easy if done safely and smartly.
Once you have beat this enemy, you need to continue through to Tyra’s Camp. Avoid the tripwire, climb through the dense forest in the north and then head west. Once you reach the camp, talk to General Hining. Sadly, he will not allow you to see King Tyra, so head back to the tracker and then back to Lord Iorwerth.
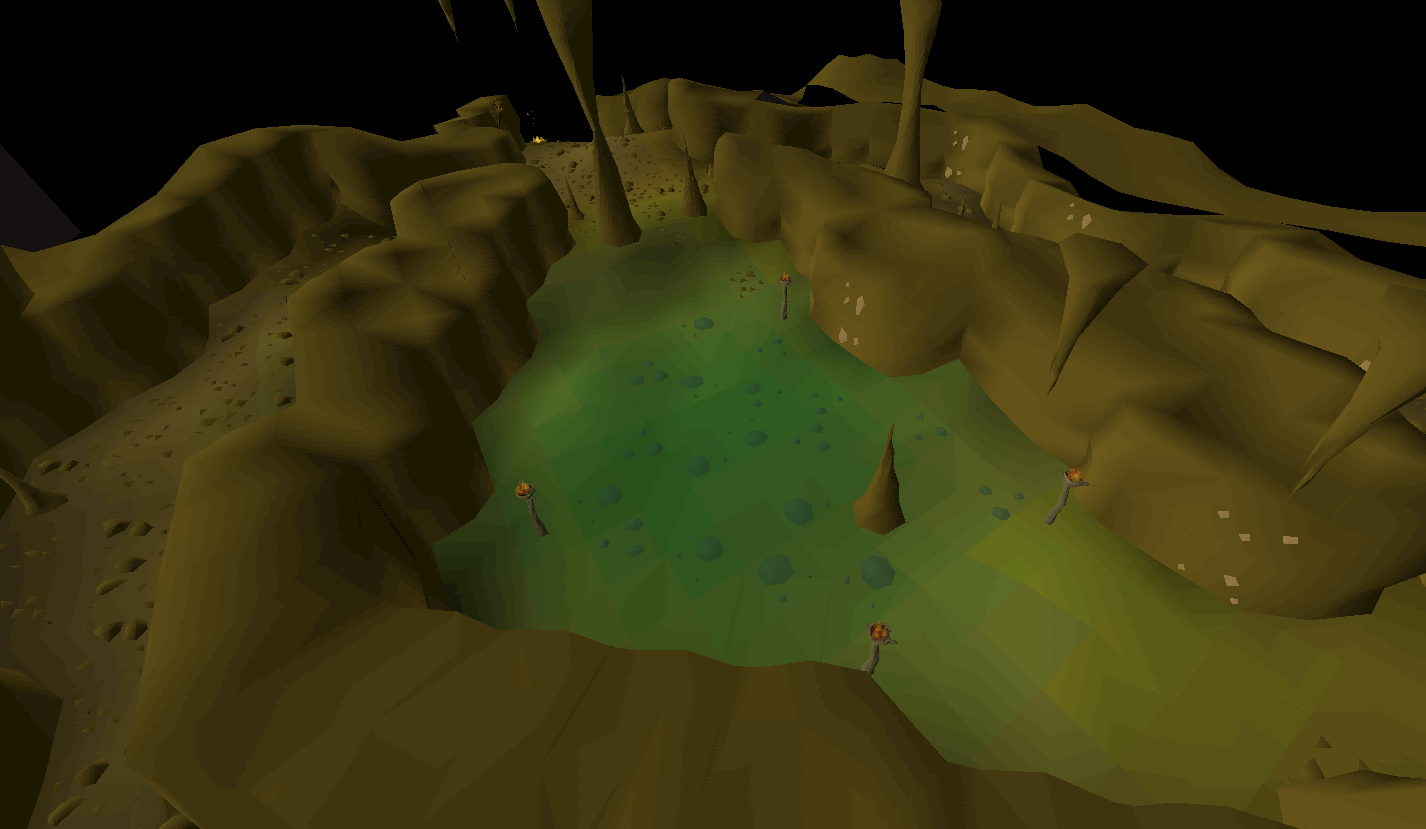
Talk to him and he will ask you to build an explosive and give you the Big Book O’ Bangs. This is a resource that tells you what items you need to create this bomb. You will need limestone, coal, and sulphur but if you are prepared you should have all you need already. If not, you can mine limestone in Elven City or Varrock. You can acquire coal tar in the poison waste south of the tracker and you can also gather Sulphur at the poison waste. When you have all of this, you will now be able to travel away from Isfadar and you want to head to East Ardougne.
Making The Bomb
In East Ardougne you’ll find Elena and she will send you to the Chemist in Rimmington. To save time, use the Farador Teleport to get there. There will be a dialogue option related to this quest when you speak to them and they will allow you to use the distiller. Go outside and use the coal on the distiller outside the chemist. This will bring you to the distiller menu. This is a mini-game that will ask you to keep the pressure above zero while keeping the heat in the green area of the bar. The idea is to keep the pressure high and adding coal to maintain heat without overheating the machine. If you do this correctly, you will have successfully made a barrel of naphtha.
Next, you will want to take your limestone to a furnace and smelt it down to make Quick Lime. Then you’ll want to grind this down in the mortar and pestle to make a pot of Quick Lime. Be sure to wear your gloves while doing this or you will incur damage when handling the Quick Lime. You will also need to ground the sulphur too and make a strip of cloth by using the loom and four balls of wool.
You then need to mix your two ground components in the barrel of naphtha. Then cover this with the strip of cloth and you will have a bomb in your possession.
Regicide
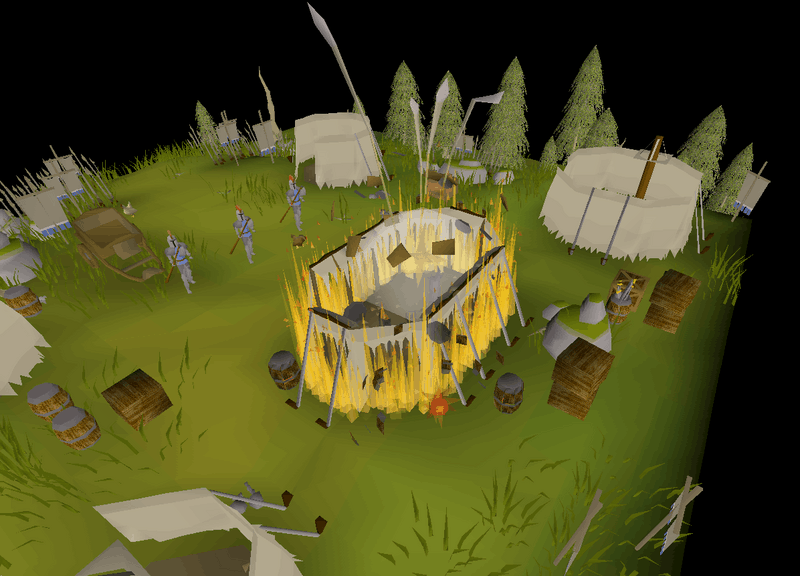
Now that you have the bomb you will need to travel through the Underground Pass. On your way back make sure to kill and cook a rabbit as you will need this when you get to Tirannwn. When you arrive you need to head up to the catapult near Tyra’s Camp. You will find a guard there, give him some rabbit to distract him, and then attach the bomb to the catapult. You will need your tinder box to light the bomb. This will trigger a cut scene showing the catapult going off and blowing up King Tyra’s tent, blowing him to bits and ending his tyrannical reign.
Once you have killed the king, head to Lord Iorwerth. He will give you a letter to take to King Lathas and he will give you access to the overground pass of Arandar. Teleport away from here and head to Ardougne Castle. On the way, an elf named Arianwyn will confront you and break the magic seal on the letter allowing you to read. This will inform you that Tyra was not the true antagonist and in fact, king Lathas is the true evil mastermind that is working with the Dark Lord to reclaim Camelot. After getting this news, speak to King Lathas to end this quest.
What Rewards are Available for Completing This Quest?
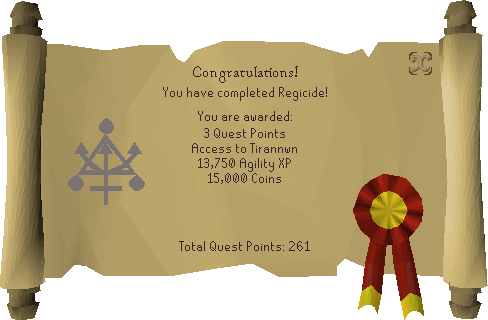
Now that you have explosively completed Regicide, first of all, congrats. It can be tempting the revel in the success that completing a long and challenging quest offers. However, a true adventurer knows that it’s all about the spoils of victory. So with that in mind, here are all the rewards that you will receive after you complete the Regicide quest in OSRS:
- Three quest points
- Permanent access to Tirannwn
- 13,750 Agility XP
- 15,000 coins
- Access to the overpass of Arandar
- Access to a ship to Port Tyras
- Ability to use the dragon halberd
- Iorwerth camp teleport access
- Zul-Andra teleport access to battle Zulrah
This Quest Is The Bomb
As you can see from the information above, this quest is a very exciting, well-written, and beautifully crafted quest. It has a lot of moving parts but the combat is minimal if done smartly, so it’s a great high-level quest with great rewards even for those with lower than recommended stats. Regicide is only the beginning of an intricate storyline but as you now know, it has quite an explosive finale. So get out there and get this one checked off your to-do list.
FAQ Section
If you have reached the end of this article and you still haven’t got the answers that you need, don’t panic for one second. As we have an FAQ section that will help put any added queries to bed. Here it is below:
Question: What Quests Require You To Complete Regicide to Start?
Answer: As is the case with several quest lines within OSRS, you will need to complete some quests to gain access to others. This is the case when it comes to Regicide. For some, you will need to get to a certain point in the adventure. Whereas with others, you will need to fully complete this quest. Here is a quick list of all the quests that are directly linked to your progress through Regicide:
Roving Elves
Mournings End Part I
Mournings End Part II
Song of the Elves
Question: Can You Keep Your Crystal Pendant During This Quest?
Answer: Yes, you can keep your crystal pendant throughout this quest. When you receive it and use it for its purpose, the next time you talk to Lord Iorwerth the pendant is removed from your inventory. Even banking this item will not stop this from happening. So if you want to hold on to it you’ll need to drop the Crystal Pendant before you speak to Lord Iorwerth for the remainder of the quest. That being said, it isn’t all that useful as an item so if you do choose to keep hold of it, it will only really serve as a fun trinket. Still, better to have than not we suppose.
Question: What Happens To King Lathas?
Answer: First of all, obvious spoilers in this section. Ok, so King Lathas is revealed at the end of Regicide to be the true evil mastermind pulling the strings. This means that in the following quest, you will be tasked with spying on this man and when a fake plague breaks out in the city, the adventurer is tasked with turning public favor against the king and seeing him lose his crown. This would lead to the adventurer guiding the Ardougne Resistance, storming King Lathas’ castle, finding the king hiding in a wardrobe in his chambers, and seeing to it that the king is disgraced, stripped of his title, and executed before the people of Ardougne. So in short, not a great ending for Lathas.
So that is our essential guide giving you all the ins and outs regarding the OSRS questline, Regicide. what did you make of this guide? Was this informative and helpful for you? What other guides would you like to see from us in the future? Let us know in the comments section below and as always, thank you for reading.
Read more interesting contents here:
Outside of working hours, he stops typing and picks up a controller. His favorite games of all time are Runescape, Kingdom Hearts, Journey, Fallout New Vegas, Disco Elysium, and he also dabbles in Rocket League in the lulls between titles. When he’s not gaming, you can find him rewatching Peep Show for the hundredth time or re-living his youth skating. Skateboards are the new comb-over, haven’t you heard?
- Regicide OSRS Guide: A Complete Walkthrough - September 30, 2021
- Monkey Madness OSRS Quest Guide: An Adventure on Ape Atoll - September 22, 2021
- Black Dragon OSRS Guide: Taking on these Dark Draconic Terrors - September 5, 2021